SSH Access via Zero Trust
SSH by its very nature is end-to-end encryption with strong protection against Man-In-The-Middle attacks. All servers need to be accessible via SSH to be manageable, often by external users (e.g. vendors, outsourced NOC, etc). However, despite SSH being strong on encryption it is challenging on accessiblity. The servers are typically on private networks (e.g. Virtual-Private-Cloud VPC, internal network VLAN’s, etc). Making them directly accessible to the Internet can be dangerous (we would have to somehow police that all users have passphrases on their keys, that we don’t have passwords allowed, etc.). SSH jump-boxes add a step to the workflow, are difficult to ssh-port-forward and scp through. VPN access is difficult to secure on a per-server basis, often being all-or-none.
In this guide we will setup the Agilicus Zero-Trust Network Access to directly access arbitrary SSH servers. The users will see them as being directly Internet connected. The users will have zero configuration (after the initial setup). Users can be individually authorised on a per SSH server basis. Additionally, users can be federated for identity by any upstream identity provider, allowing an external vendor to be identified by their own corporate Azure Active Directory, an independent contractor via their Google login.
The data flow is such that the SSH TCP session is intact from the client to the server: the hostkeys are unaltered, SSH anti-tamper mechanisms are unperturbed. SFTP just works.
The end user can use any SSH client (ssh command line, mobaxterm, putty, etc), with no complicated config to remember. The system administrator can gate access on/off per user, and, see an audit trail of who has accessed what, when, from where.
SSH Access Setup
Note: you can use a site-to-site VPN via IPSEC, or use the onsite Agilicus Connector for each pool of servers. These instructions assume the latter.
CREATE ORGANISATION
See SIGNUP
SETUP IDENTITY
Also setup initial users and group membership.
CREATE CONNECTOR PER SITE
CREATE SSH RESOURCE
ASSIGN PERMISSIONS
SSH Resource Setup
4 steps:
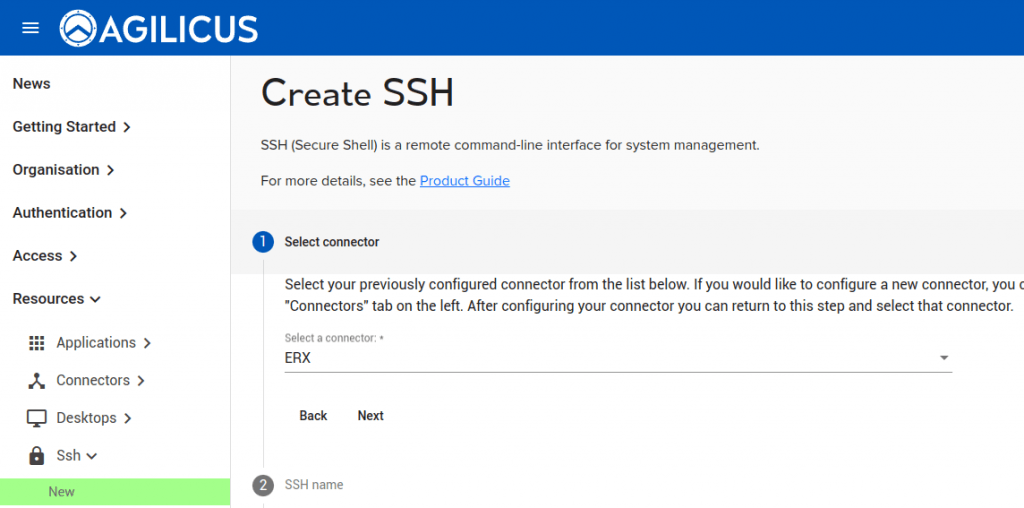
- Select the connector (the site on which the underlying SSH resource exists)
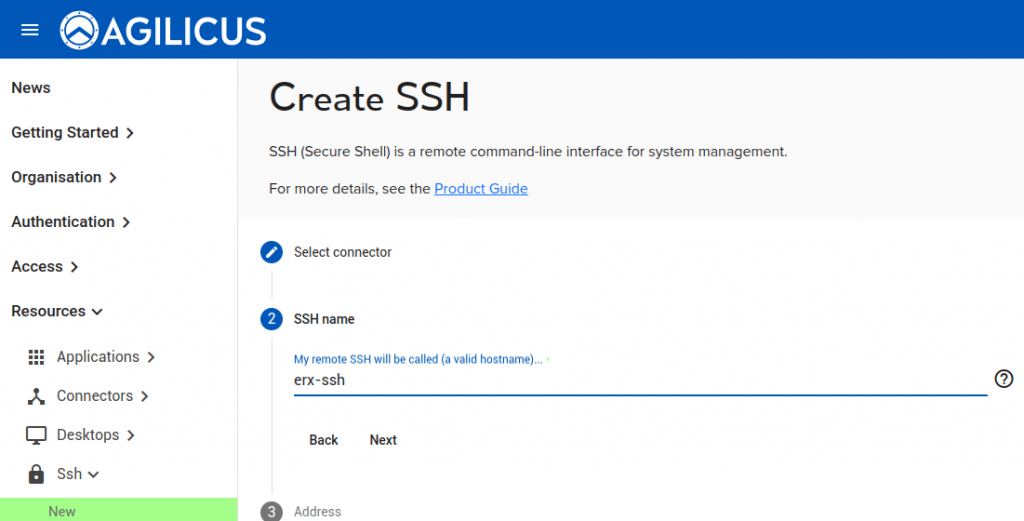
- Create a name for the SSH resource. This will appear as a valid hostname and must be unique within your sub-domain. Feel free to use a pattern, e.g. ‘site-host-ssh’.
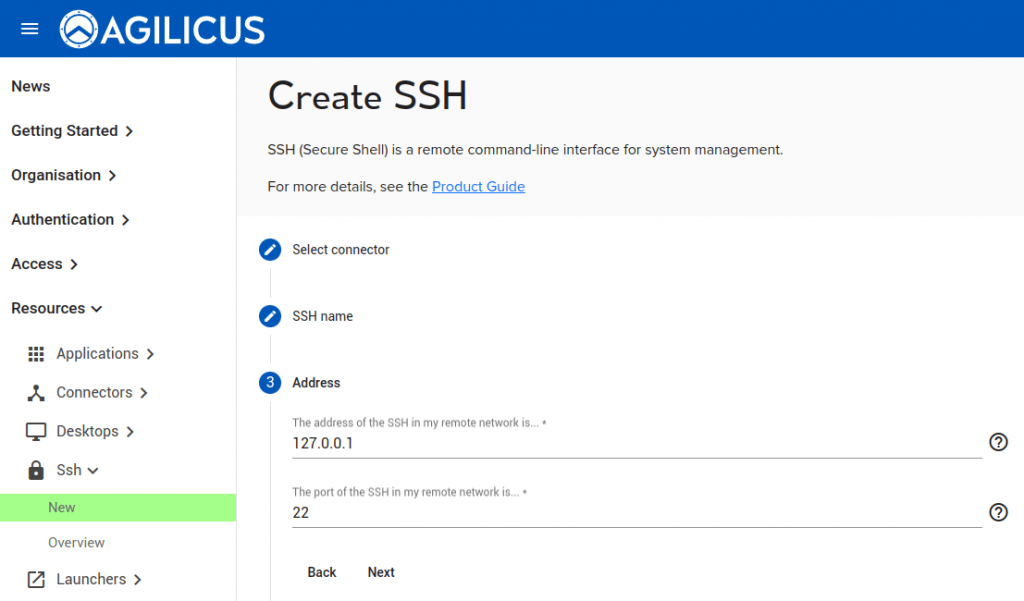
- Select the hostname/IP and port that the SSH server is on in that remote network.
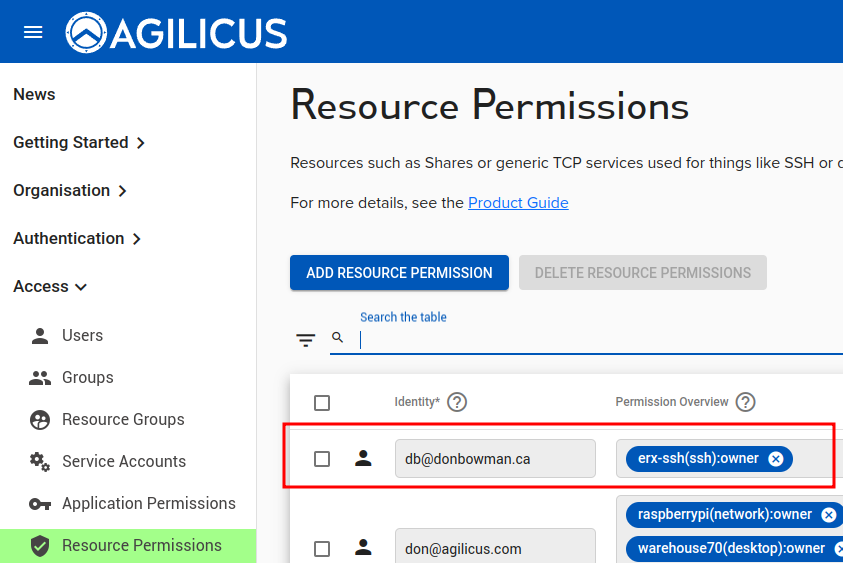
- Assign permissions (who can use this SSH resource)
The underlying SSH resources will also show up under Network Resources.
Automatic Sign-In (cached credentials)
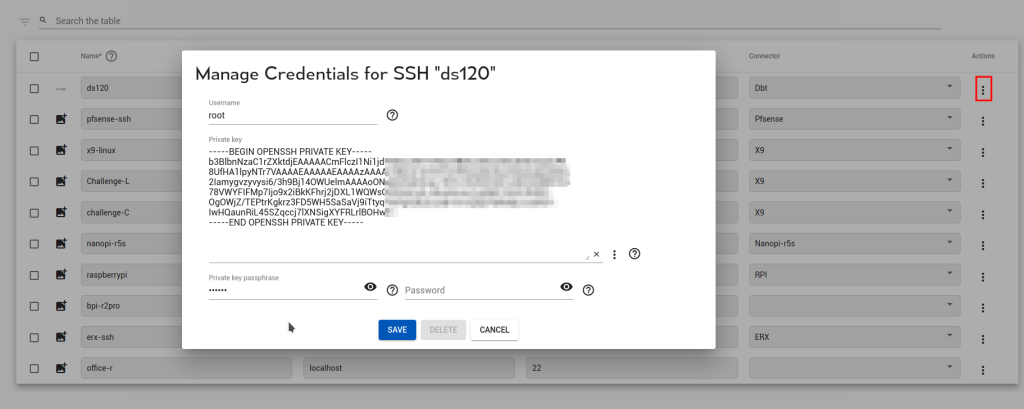
In some cases you wish end-users to be able to sign in via the web interface, but do not wish to share the credentials with them. For this purpose Agilicus has a secure credential store and key or password stuffing. You may configure this during the creation of a new SSH resource, or, later on the existing resource as below.
Note: the SSH key cannot be retrieved from the system. Once you have configured it, it is one-way encrypted, if you wish to change it later you may, but you must keep your own copy.
Using the SSH Resource
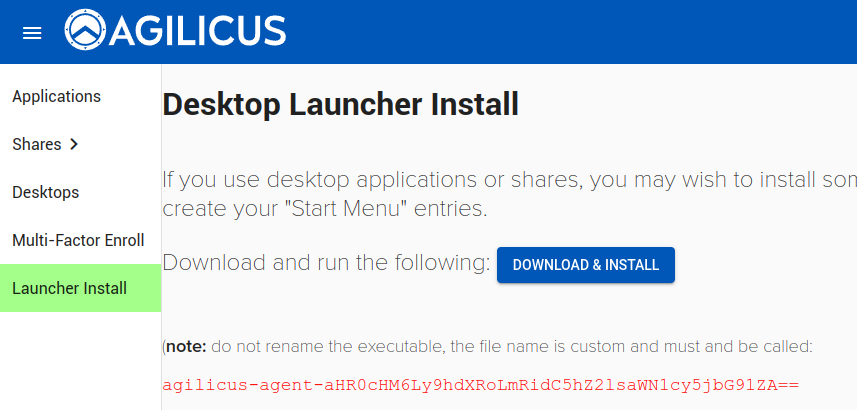
If you have not done so, install the Agilicus Launcher on your desktop (Windows, Linux Mac) from profile (https://profile.YOURDOMAIN). The Launcher support runs on demand, it is not a service. It will automatically configure OpenSSH (Windows, MAC, Linux), or Putty (Windows).
Note: The Launcher will configure OpenSSH if the file ~/.ssh/config exists. If you have not used SSH before, you might need to create this file.
At this stage, you can ssh directly to the server, using the name you gave above. For example, if in step 4 you called the SSH resource “foobar”, you can type ‘ssh foobar’. This might bring up a browser to identify you and/or perform multi-factor authentication. The data flow is as shown below.
