Quick Start: Signup
From SIGNUP, perform these 3 steps
- create account
- create organisation
- assign domain
Signup Key Concepts
Setup the Agilicus system from creation to use in a self-served fashion. The high level steps are:
- Create Owner User
- Name your Organisation
- Decide on a DNS Domain Name
At this stage you will be ready to start your first configuration. (The below steps are peformed at https://admin.agilicus.cloud/signup)
At this stage you are complete.
Details
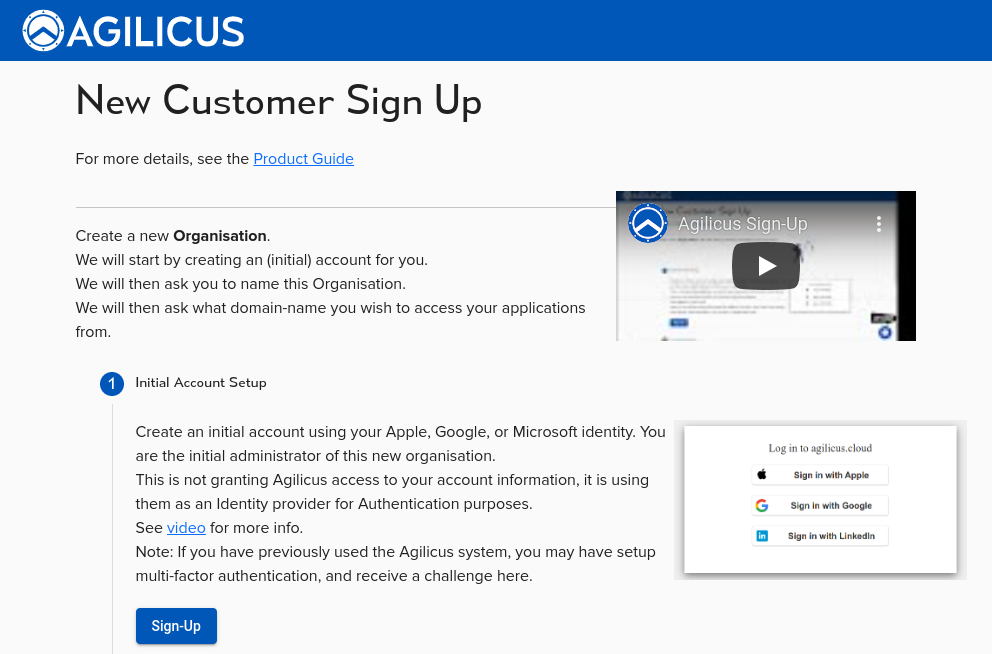
Open another browser tab to https://admin.agilicus.cloud/signup to sign up and get going. Below are some notes and instructions to help along the way. The full Product Guide may also be helpful.
Got Feedback? Email feedback@agilicus.com or click the chat icon in the lower left, we’ll act on it right away.
Step 1: Signup Identity
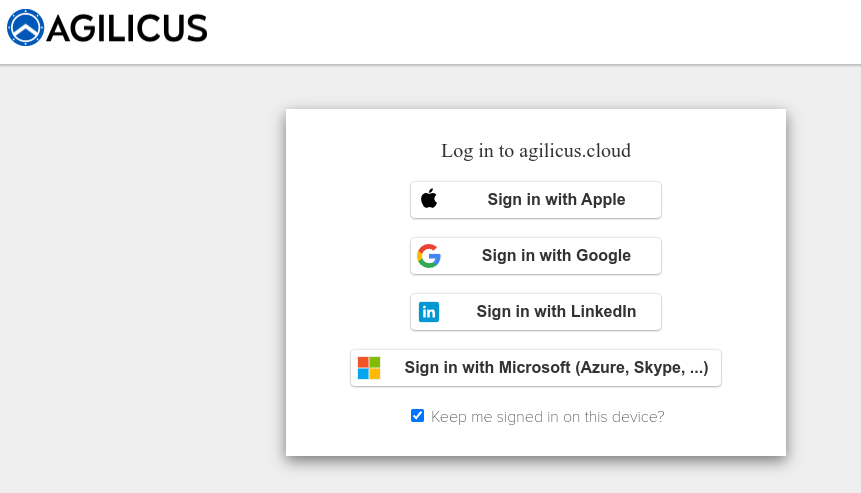
The Agilicus Platform is architected around strong identity. However, we don’t believe in “Yet Another Username, Yet Another Password.”. We want you to have a single, strong, trustworthy sign-in to our system using the natural sign-in method you use day-to-day. As a bootstrap, we ask you to sign in with your Google, Apple, or LinkedIn account. This uses a technology called ‘OpenID Connect’. We don’t get your password to these systems, nor do we get any privilege or access to them: they provide Identity and Authentication to Agilicus.
Once you have done the initial Signup you may add your Azure Active Directory or Active Directory Federation Service so that you, and your users, may login as you do to any other corporate system. You may then add other trusted Identity sources, allowing, for example, two companies to work together in a Joint Venture.
The Login process will create a web popup. Notice that the domain-name in it is from Google or Apple. You may need to enable Popups in your web browser (this is the only spot we use them).
Step 2: Domain Selection
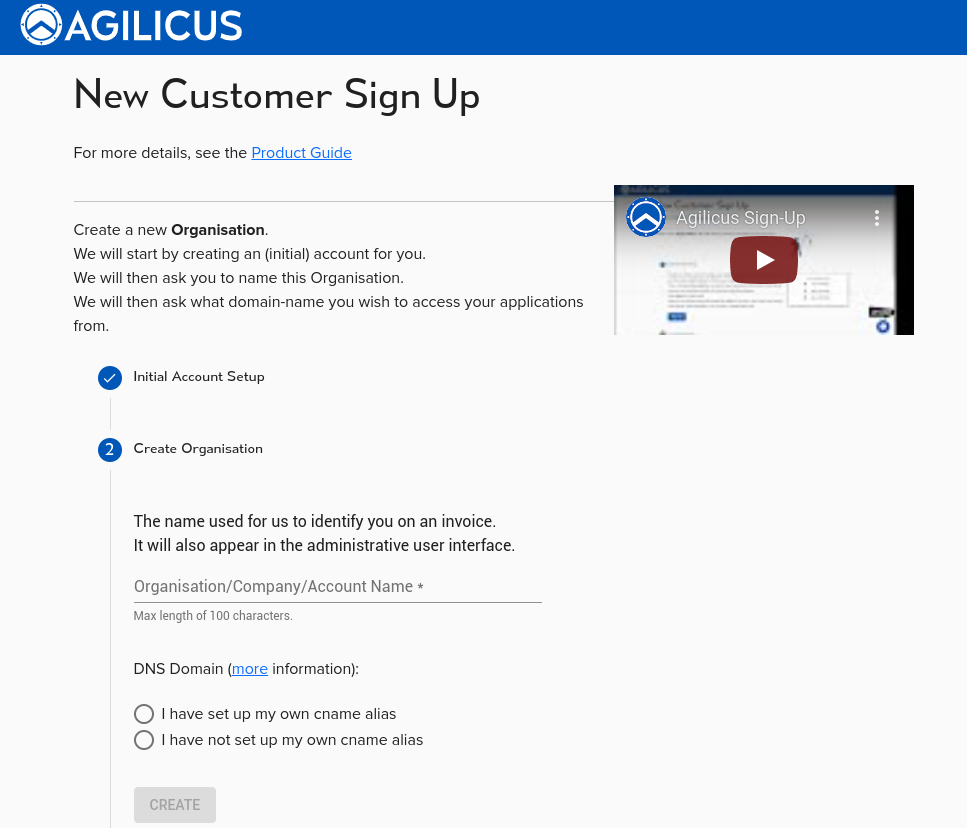
Great! Now you have created an account. You are now presented with two choices:
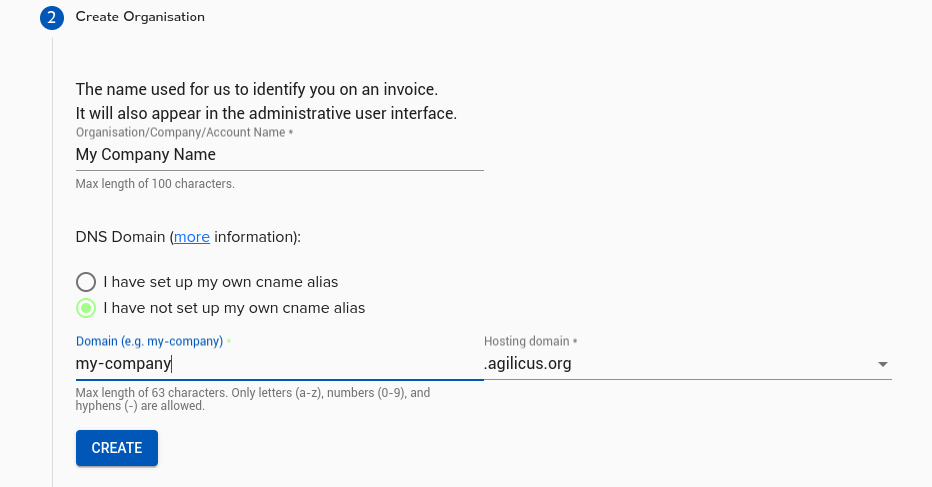
- Organisation Name. This is what you call your company. Just like you are unique, we also require this to be unique. So we suggest making it your legal company name instead of just “demo”. This will only occur in reports and billing, it won’t be something your end users will see.
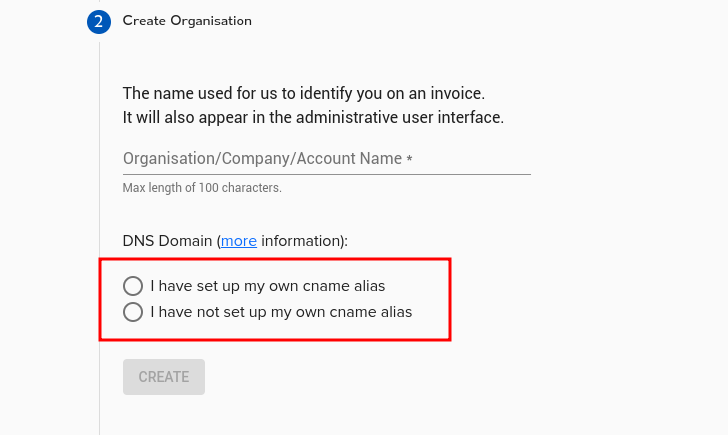
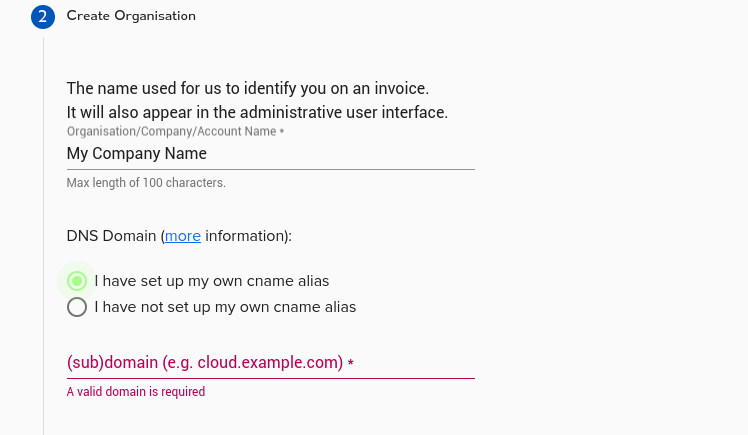
- Domain. This is how your users will use resources you host in, or expose through, the Agilicus system. We don’t believe in client software, so your users will normally see this as a URL. You have 2 choices: provide a sub-domain of your existing domain, or, use one of ours.
For the domain, if you choose to provide your own sub-domain, you must first put an entry in your Domain Name Server (DNS) to prove you own it, and to allow us to host content on it. This is done by creating a CNAME record with a wildcard. In your DNS, create a CNAME report from *.subdomain.yourdomain to ca-1.agilicus.ca. For more information about the Hows and Whys of a CNAME, see “Internet Redirect & Alias: The CNAME“. NOTE: this is a wildcard.
For example, we recommend using “cloud” as the subdomain. If your company web-page is “www.example.com”, you will create a CNAME of *.cloud.example.com, pointing to ca-1.agilicus.ca. You and your users will now be accessing applications as https://appname.cloud.example.com/.
If you use a domain we supply, this can be very quick for you to get going. If you use your existing domain its simpler for your users, and, can help train them to avoid spearphishing by only using your corporate domain. The choice is yours.
An example setup using Google DNS is shown. This will vary slightly depending on your DNS provider. If you wish to test the setup of your CNAME, we recommend using dig, as below. You may also use a web-based service such as dnslookup.online. Lookup anyname.subdomain.yourdomain.
$ dig -t cname foo.cloud.zero-trust.ca ... ;; QUESTION SECTION: ;foo.cloud.zero-trust.ca. IN CNAME ;; ANSWER SECTION: foo.cloud.zero-trust.ca. 3600 IN CNAME ca-1.agilicus.ca.
Once you select CREATE it will take approximately 30-60 seconds to setup an environment. During this time our system is created a Federated Login system (allowing authentication against your Identity Providers), SSL certificates (100% of what we do is encrypted), and some other database setup for Audit Logging etc.
NOTE: Split-Horizon DNS
If you run split-horizon DNS (e.g. a name server internally which serves different answers than externally), you will need to make the same changes in both systems.
Step 3: RE-AUTHENTICATE
If all went well you will now see a new “AUTHENTICATE” button. For security purposes we will now ask you to login to the newly created Organisation. You will do this using the same bootstrap Identity you authenticated with to do the Signup (your Google, Apple, LinkedIn). Observe there is no exchange of password or other information to our system.

Once you have done this second Authenticate, you will be logged in to the Administrative Portal of the Agilicus Zero Trust Platform. You will see the URL change to https://admin.<subdomain>.<domain>. You may return to this web page at any time.
You are now done with the Signup phase, from here you will have a set of tasks to expose individual resources, choose which users can access them, choose how those users authenticate themselves, choose what roles those users have, view audit logs, etc.
INITIAL CONFIGURATION CONCEPTS
Now that your Organisation is setup, and you can login, you have a few options to explore. There is no right order. But, some things to consider:
- Enable Multi-Factor Authentication. You can control a rich set of policies for which users must present which methods for multi-factor authentication to resources exposed via the Agilicus platform. Code-Based Apps? Web Push? WebAuthN TPM or USB keys? We recommend a strategy of Trust On First Use, lowering the cost of rolling out a multi-factor authentication plan to your team
- Enable a new Upstream Identity Provider. If you use Office 365, or Azure Active Directory, this is a natural to achieve Single Sign On. Its simpler than you think!. You are only a couple of clicks away from Authenticating to Agilicus via your Corporate Active Directory.
- Expose a simple internal Web Site, safely, securely, to the Internet, enabling strong single sign on and role-based access control
- Expose a new shared directory of files on an internal file server to specific users, no VPN, no client needed.
- Host a new web application
A set of example setups, including a sample web server to demonstrate exposing an internal application, is available in the Examples.