VNC Desktop Overview
The VNC Desktop feature allows browser-based use of remote graphical-oriented resources. This can include traditional operating systems like Windows, Linux, MacOS, but, also, includes embedded devices such as HMI.
VNC has very weak intrinsic security (a read-only password, a read-write password, but no username). These passwords are in turn very weakly encrypted (3DES), and, must be 8 characters. As a consequence, it is not safe to use by itself with e.g. port-forwarding.
Agilicus AnyX adds a Zero Trust layer, with strong identity and modern encryption, making these safe to use remotely.
Setup
Assuming you have the VNC Server already running and available, you can create and access a VNC Desktop by:
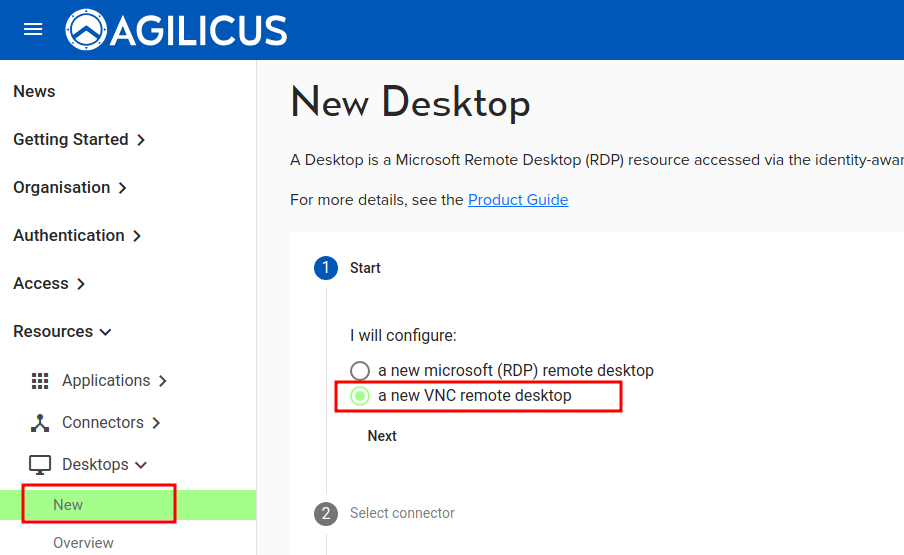
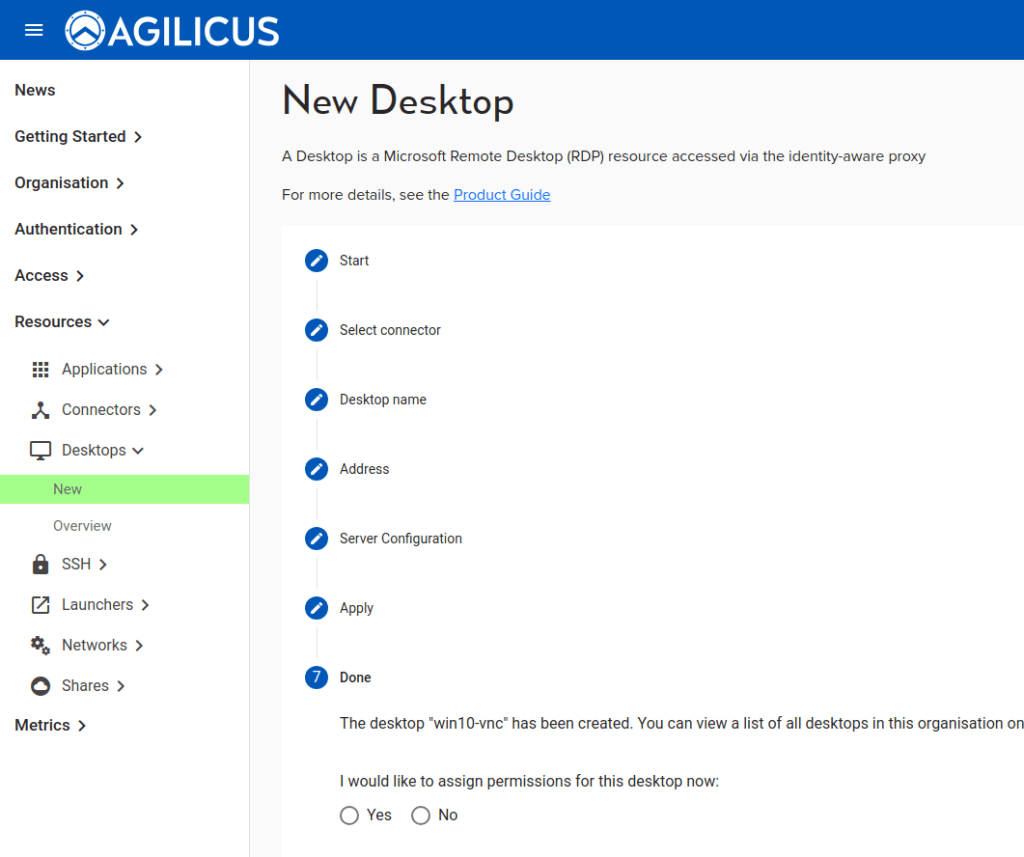
- In the Agilicus Admin interace, ‘Resources/Desktops/New’, select ‘a new VNC remote desktop
- Select the connector which is adjacent to the VNC Server
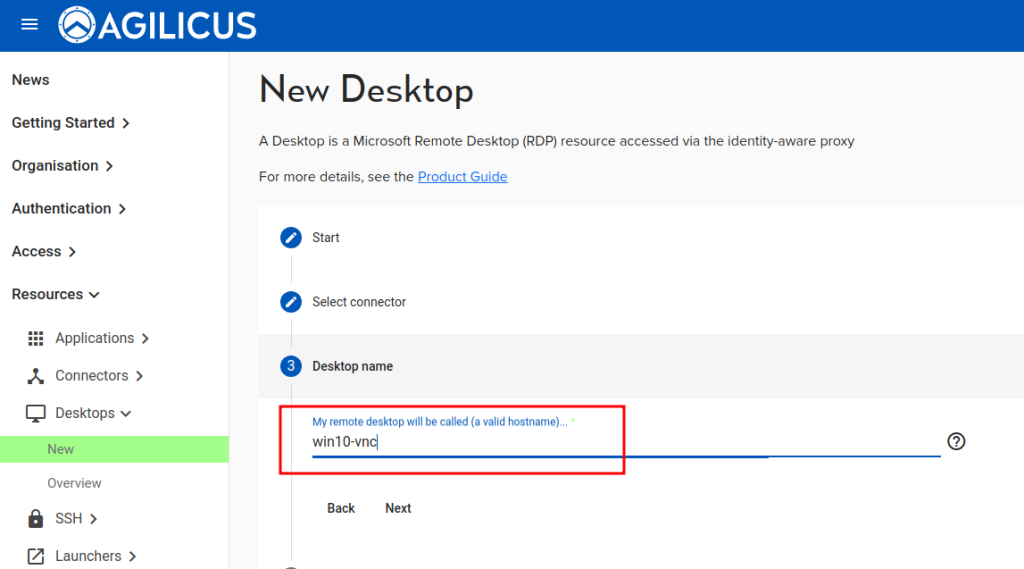
- Give this VNC Desktop a name. You will use this in the Profile to select the machine
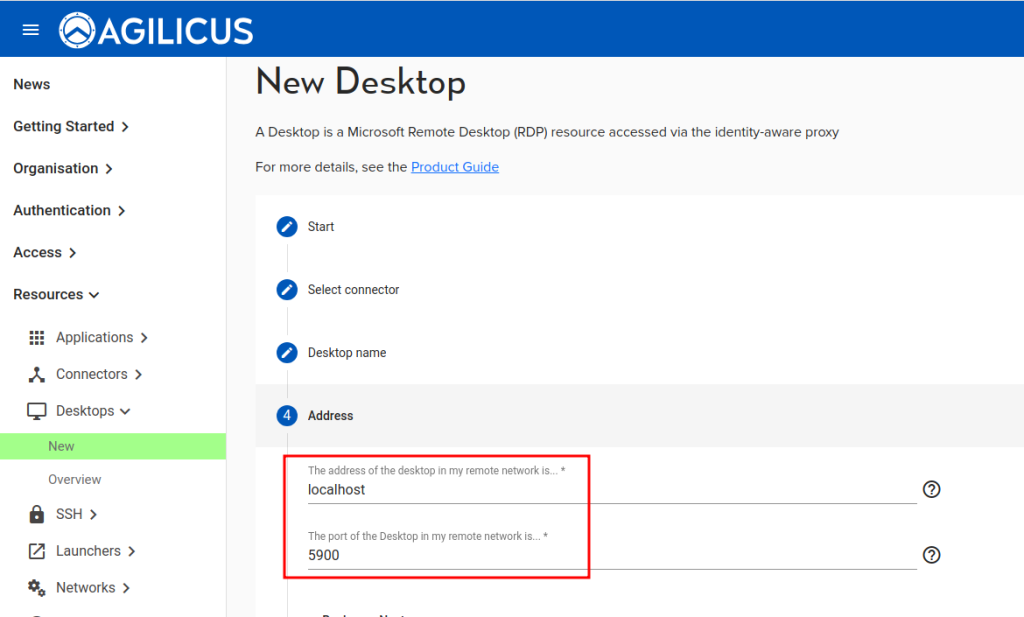
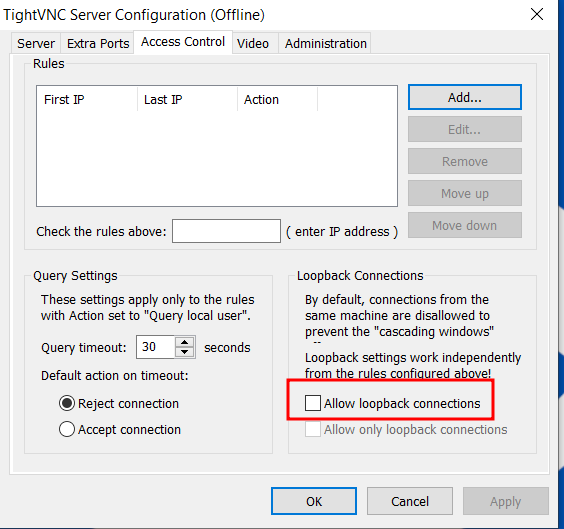
- Select the address (as the connector would see) it of the VNC server. E.g. on the machine running the connector, you should be able to ‘ping’ this hostname. NOTE: if the connector is on the same machine as the VNC server, you may need to ‘enable loopback connections’ in the VNC Server configuration.
- Optional. If you wish to have the Profile VNC Web interface auto-sign-in (after you have presented your single-sign-on-credentials) you may enter the read-write (and/or read-only) password of the VNC server. If these are set, users may be forced into a read-only role by permissions later.
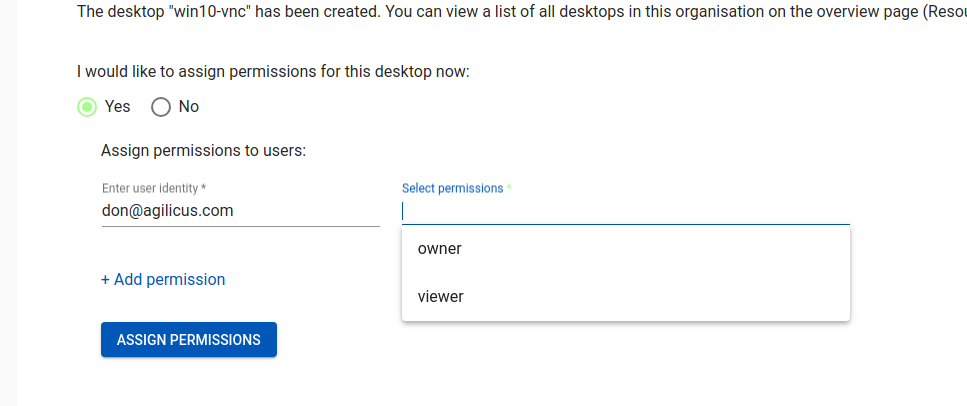
- Assign permissions to who may use this desktop. If ‘viewer’ is selected, and the read-only password was given above, the user will be auto-signed-in as a read-only user.
At this stage, you can open https://profile.MYDOMAIN and you should see this VNC resource on Desktops.
