Sign in With Microsoft
Theming, Auto-Create

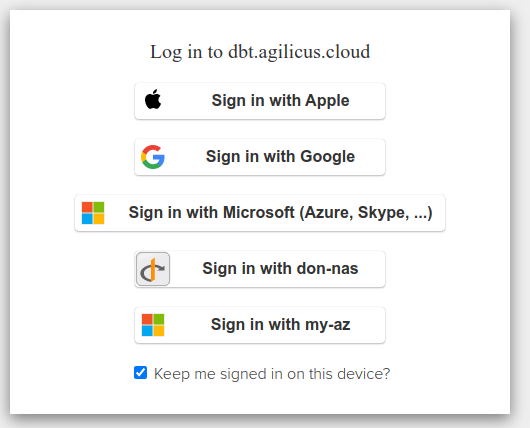
On initial product signup you may be offered the ability to “Sign in with Microsoft (Azure, Skype, …)”. This option is a zero-configuration setup, and will allow you to assign users from any Microsoft certified source. This includes your own Active Directory, but also can include XBox Live, Skype, hotmail, etc.
Once you have signed up, you have a choice. You can continue to use this pre-setup shared Identity Provider. Or, you may configure the system to use your own Azure Active Directory.
The pro/con of each approach are discussed below.

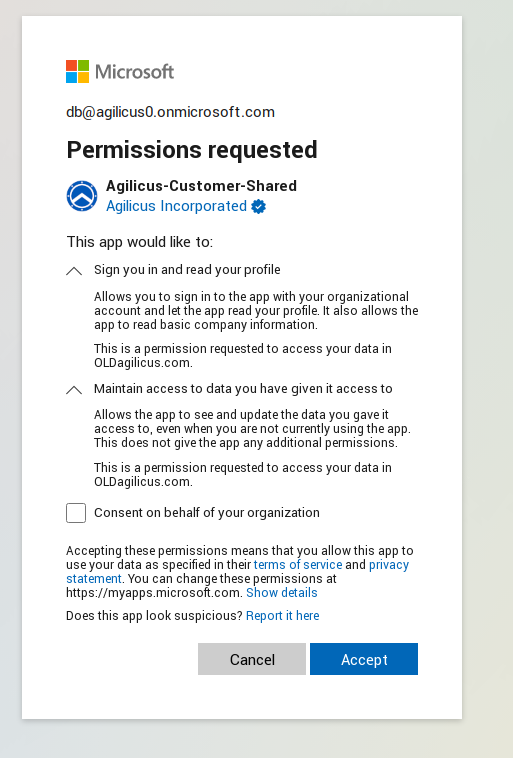
As an administrator, you will be granting access to this shared Microsoft Issuer. The first time you sign in you will see a screen as below.
In it, you are requested to
This screen requests 2 permissions:
- “Sign you in and read your profile”. This is granting the Agilicus platform to the following information, called ‘profile’ in OpenID terminology (for more information see Section 2.4 “Scope Values” of the OpenID Connect specification).
- First Name
- Last Name
- Maintain access to data you have given it access to. This is commonly called a ‘refresh’ token, and it allows the platform to cache access so you can sign in a second time on the same device without re-authenticating.
There is a 3rd box, ‘Consent on behalf of your organisation’. Checking this will ensure that end users are not asked these questions.
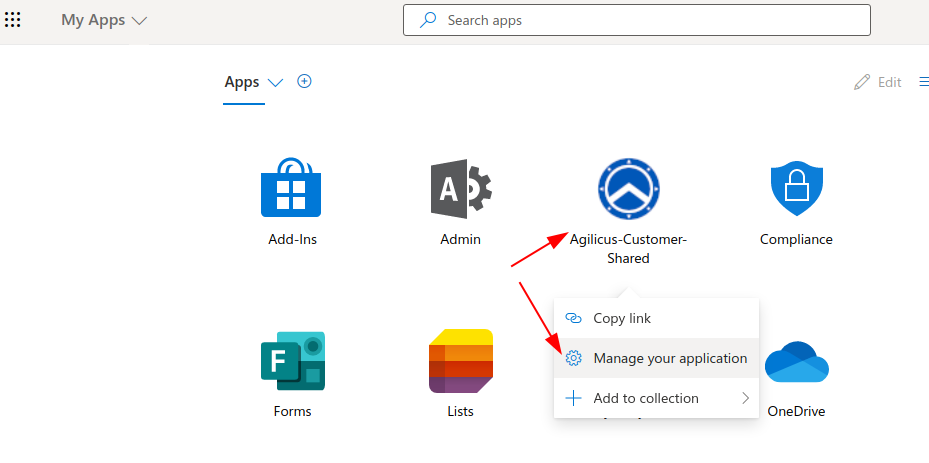
You may revoke access any time at https://myapps.microsoft.com/

Consideration: Theme & Branding
If you use the shared Identity provider you can set the theme & branding information on the initial Agilicus screen. However, once the user chooses ‘SIgn in with Microsoft’ there is no option to set branding information. The end user will see a a generic Microsoft screen.
Consideration: Auto Create users
In the event you create and assign your own Azure Active Directory Application for Agilicus you can use ‘auto create’ users. In this model you may choose to auto-trust. “If my Active Directory trusts the user, so will Agilicus”.