Microsoft ClickOnce
Securely Launch From Outside Network
Microsoft ClickOnce is a technology which merges ‘web’ with ‘desktop’ applications. The user is presented with a web page, which downloads an initial manifest, which in turn downloads/synchronises the remainder of the application.
Microsoft ClickOnce
Microsoft ClickOnce is a technology which merges ‘web’ with ‘desktop’ applications. The user is presented with a web page, which downloads an initial manifest, which in turn downloads/synchronises the remainder of the application.
Typically a ClickOnce application will, once loaded, start consuming resources from its (http) Origin (e.g. REST API’s, databases, etc).
Setup a ClickOnce application as any other Web Application. Then, on each Desktop that will access it, follow the below instructions.

Agilicus Agent
- Download the Agilicus Agent (Windows) to the Downloads
- Run without arguments. Enter your domain (e.g. the CNAME you setup during the sign-up phase)
- If a browser pops up, sign-in as normal
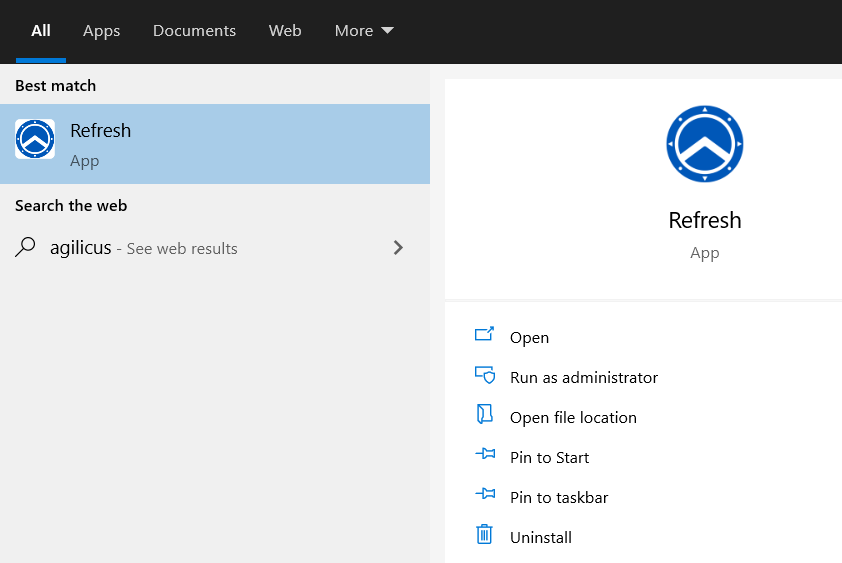
At this stage you are done. The user will see a new menu item on their Start Menu (called ‘Refresh’), they can run this any time the Administrator has added new applications that have for some reason not synced. They can also run this to resynchronise Shared fileystems, including re-supplying a second-factor authentication challenge.

Chrome Extension

Agilicus recommends installing the Agilicus ClickOnce Chrome Extension. This makes the end-user experience ‘native’, no interaction is required. The user will open https://DOMAIN/ as normal. This DOMAIN will be wrapped by the Agilicus’s OpenID Connect Proxy, which enforces authentication and authorisation in advance and hands it off to a previously installed Agilicus Agent which will interact with Chromes Native Messaging. The net effect will be “click” and “run” occur automatically with no user interaction, with single-sign on.
Most Chrome users can install the Extension from the Chrome Web Store. If for some reason you do not see the extension, below are the instructions to side-load it. Install and enable the extension.
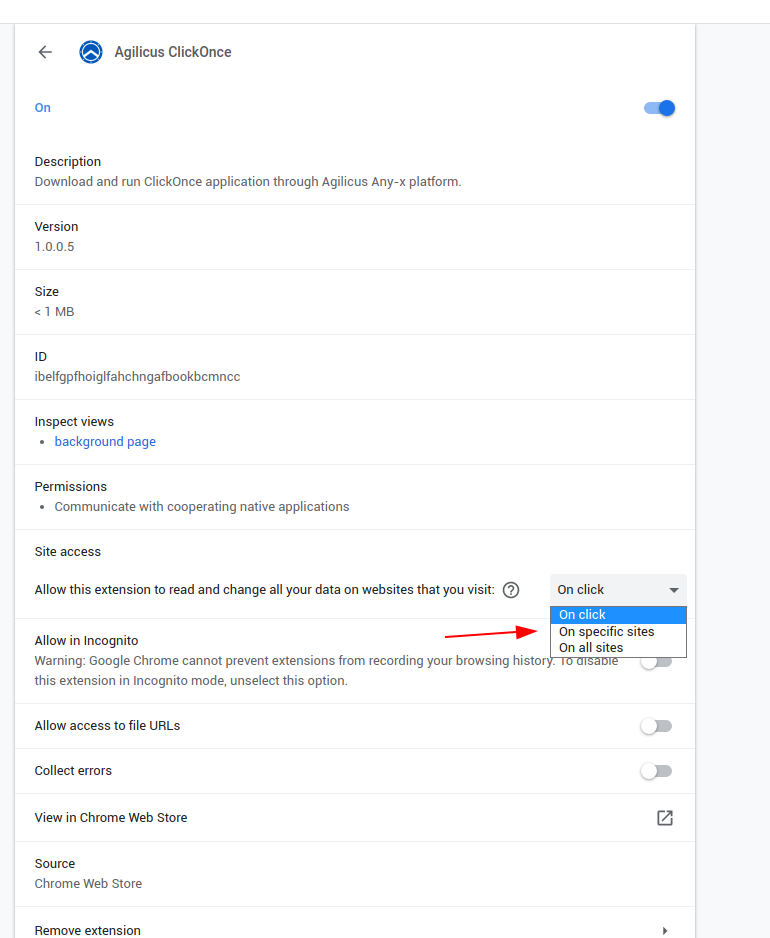
By default the extension may (depending on your settings) only enable on Click or on specific sites. You may check the extension settings as at right.
Chrome Extension Side-load (Optional)
Note: you only need these instructions if you wish a newer version than published, or you cannot see the entry in the Chrome Web Store.

- Download the Extension from www.agilicus.com to your desktop
- In Chrome, open ‘chrome://extensions’ in a new tab
- Drag the file from your desktop into the Chrome page
- Install the Registry key from www.agilicus.com
- Restart the Chrome browser
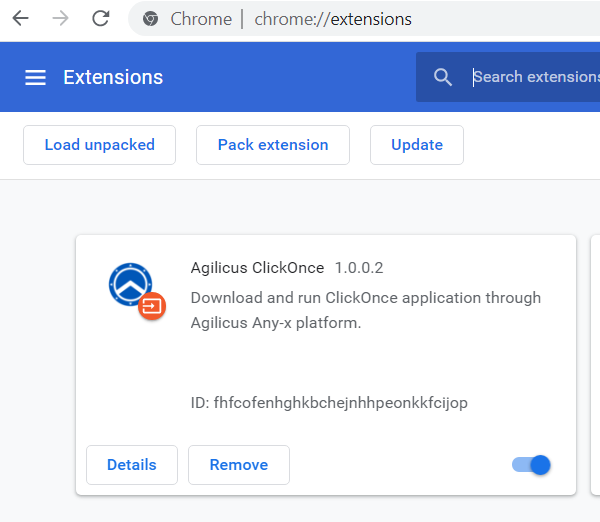
When done, you can check the Extension is installed on the chrome://extensions page (image shown to right).
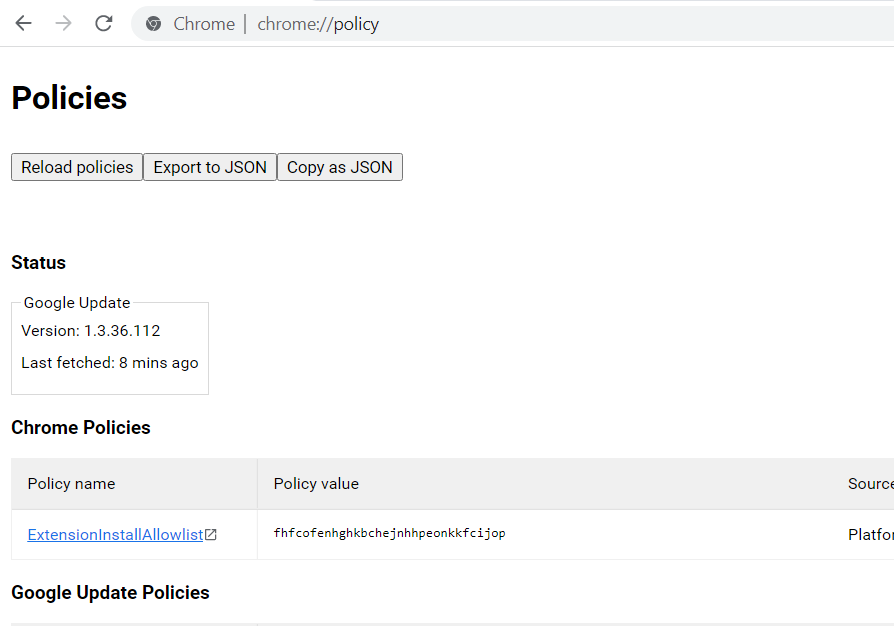
To diagnose if the Registry ‘allow’ key is set, you can navigate to ‘chrome://policy’ and you should see a policy installed as below image under ExtensionInstallAllowlist

Want Assistance?
The Agilicus team is here for you. The ‘Chat‘ icon in the lower left, here, or in the administrative web page, goes to our team.
Or, feel free to email support@agilicus.com
Not yet a customer? The TRY NOW button will walk you through the process.