Authentication Issuer – Custom Identity
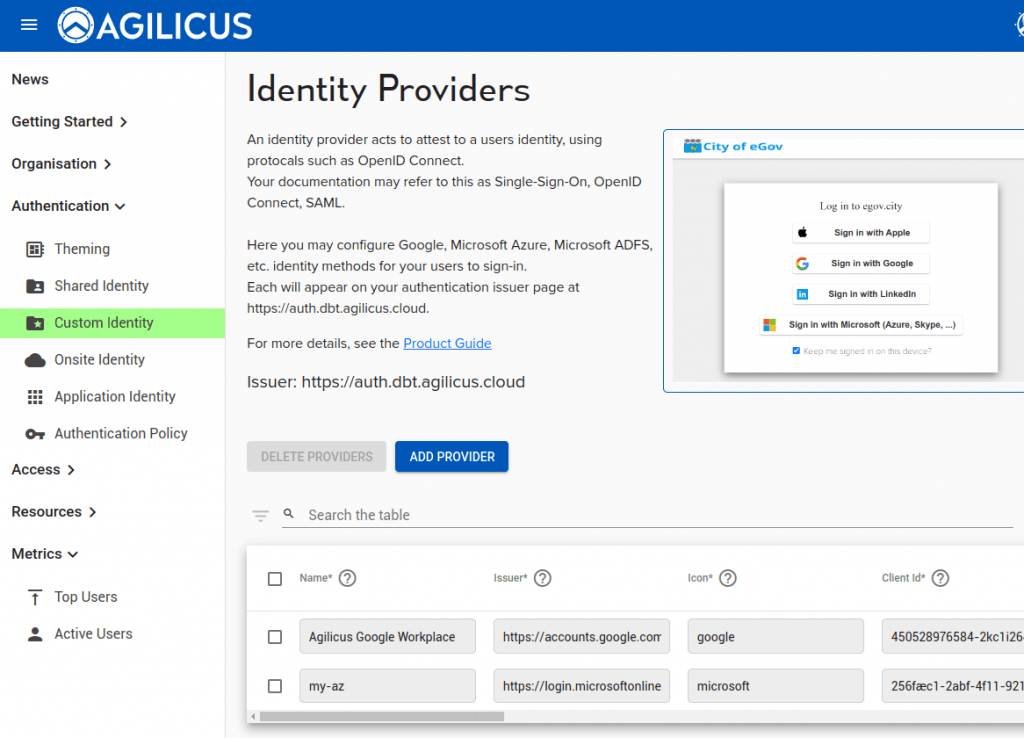
An Identity provider holds the user database, and, authenticates users against it. Agilicus supports any OpenID-Connect based identity provider. This includes Okta, Microsoft, Google, etc.
Most customers will use the ‘Shared Identity’ feature which is zero-touch configuration. However, some will wish to implement custom rules inside their identity provider, requiring creation of a ‘new application registration’.
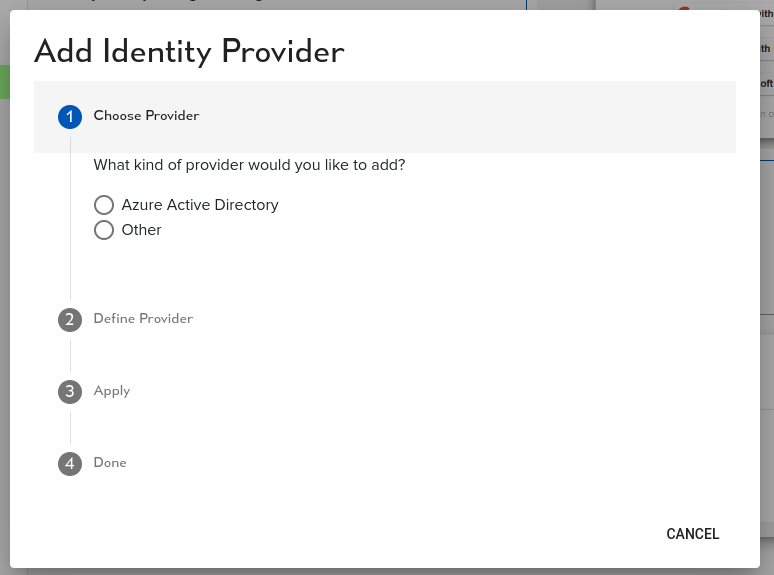
To add a custom provider, select ‘add provider’

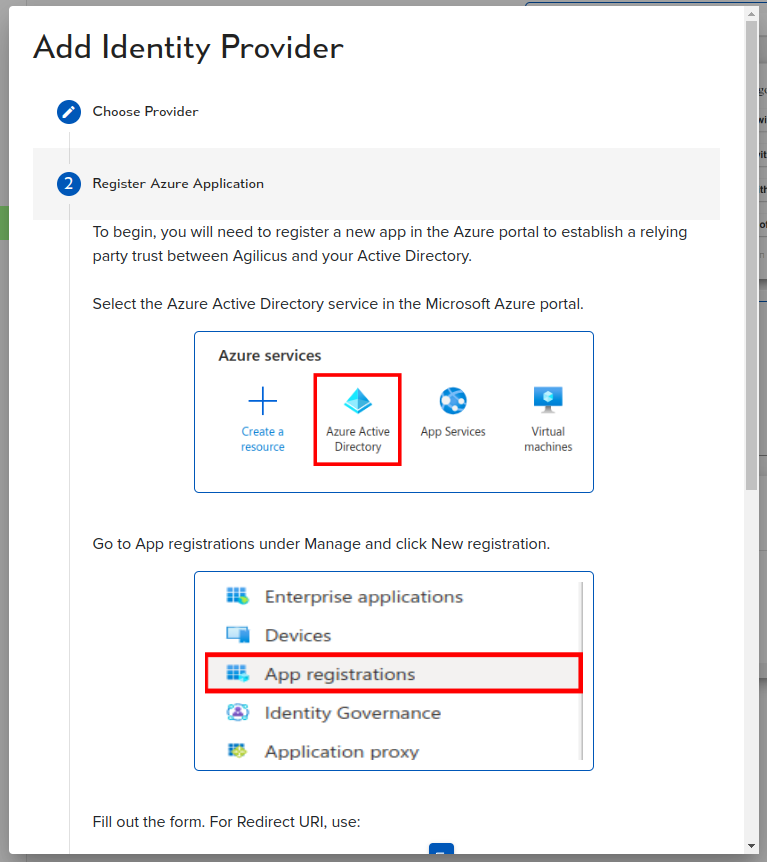
You will see two choice: ‘Azure Active Directory’ (which will give you a guided walk through), or, ‘Other’. In other you will configure a row in a table.


Once you have added the row, you have these columns:
- name — what the user will see on the sign in page
- issuer — the URI (e.g. https://login.microsoftonline.com/TENANTID/v2.0)
- icon — from your theme, e.g.
google,microsoft - client id — as given by your identity provider (e.g. TENANTID)
- secret — as given by your identity provider
- auto-create — if set, users will be created automatically in Agilicus if they can sign in via this upstream identity provider. Do not use with public providers.
- type — Generic (or Microsoft for non-compatible extensions)
- offline consent — if true, ask for consent to do
refreshflow (aka offline) - request user info — if true attempt to fetch additional user info (e.g. group mappings)
- issuer external host — leave blank typically
- username key — blank (or e.g. username, email, etc)
- email key — typically email
- verifies email — if set the upstream provider forces verification of email address
- redirect uri — the redirect URI to your Agilicus-provided authentication federation. Typically https://auth.ca-1.agilicus.ca/callback
You may also use the action-button (3-dots) to configure group mappings, these will import groups from your upstream identity provider automatically
Want Assistance?
The Agilicus team is here for you. The ‘Chat‘ icon in the lower left, here, or in the administrative web page, goes to our team.
Or, feel free to email support@agilicus.com
Not yet a customer? The TRY NOW button will walk you through the process.