Sign in With Apple
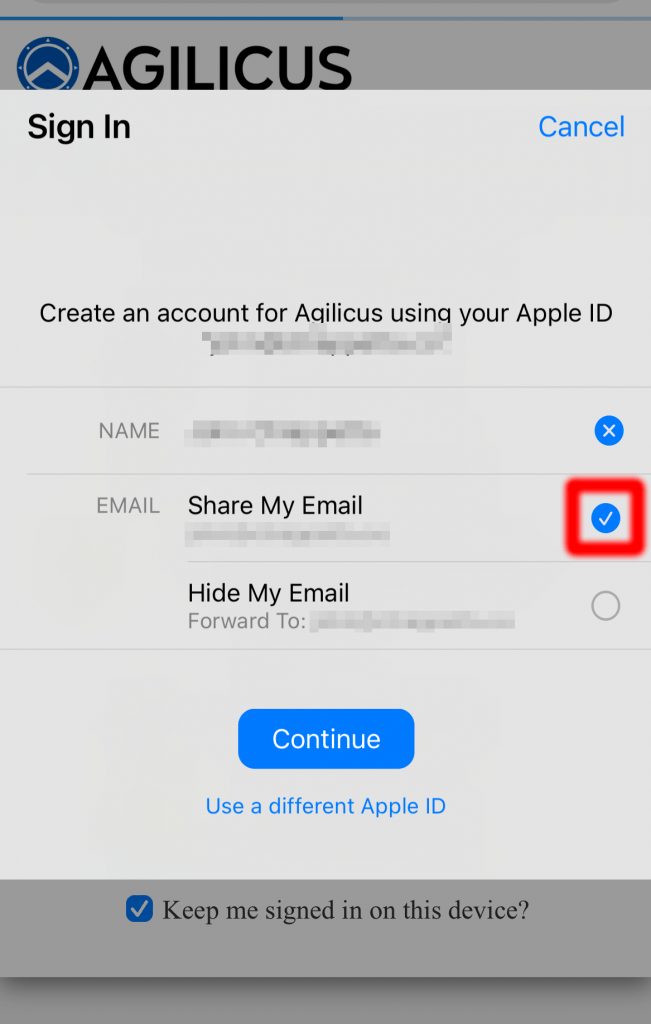
In a “Sign In With Apple” flow, the user will supply an email-address they used to register their Apple account. This might be @hotmail, @gmail, etc. This is typically done automatically by their browser or device.
Some users may have a different ‘appleid’ than the ’email’ on file with Apple.
In the Agilicus system, the ‘Email’ that is shared (shown in the screen shot at the right) should be used in the “Users” screen to link the user.
It is important that the user not use the “Hide My Email” option, since in that case there is no method to link the accounts.
NOTE: “Share My Email”
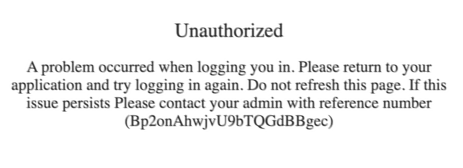
It is critical that the user select ‘Share My Email’. This is required to link the account between the Apple system and the Agilicus system. The user will not receive any email.If the user inadvertently selects ‘Hide My Email’ or does not provide a Name, they must delete their account in the Apple account settings, and then sign-in again.The user might otherwise see an error such as to the right.
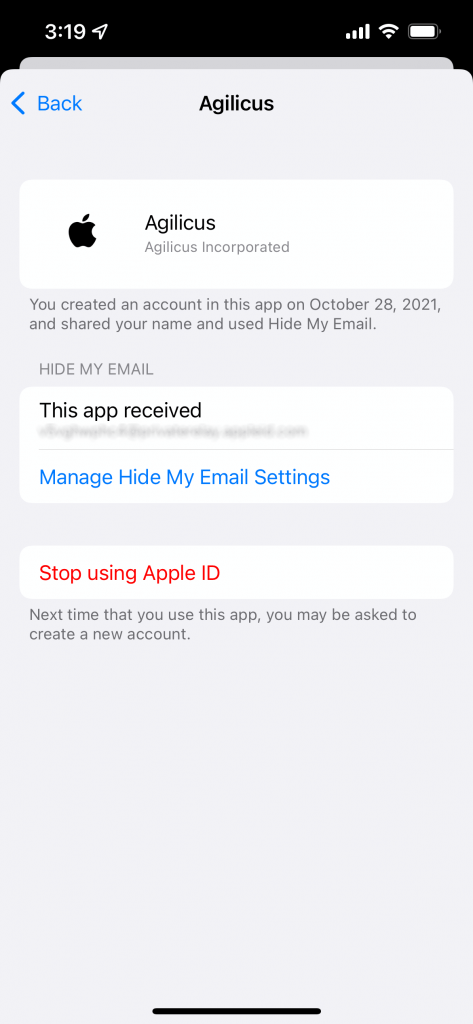
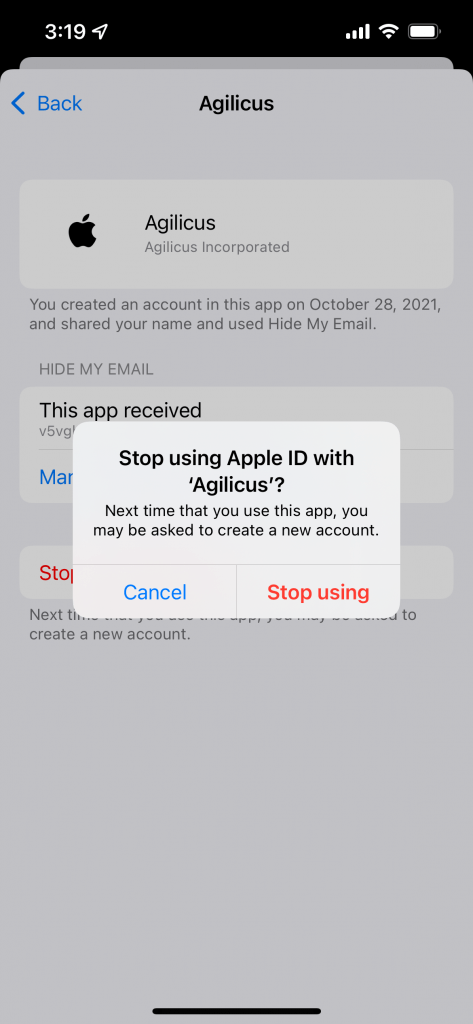
If the user inadvertently selects “Hide My Email”, they must correct this through their Apple Account settings by removing the ‘Agilicus’ Application, and then signing in again.
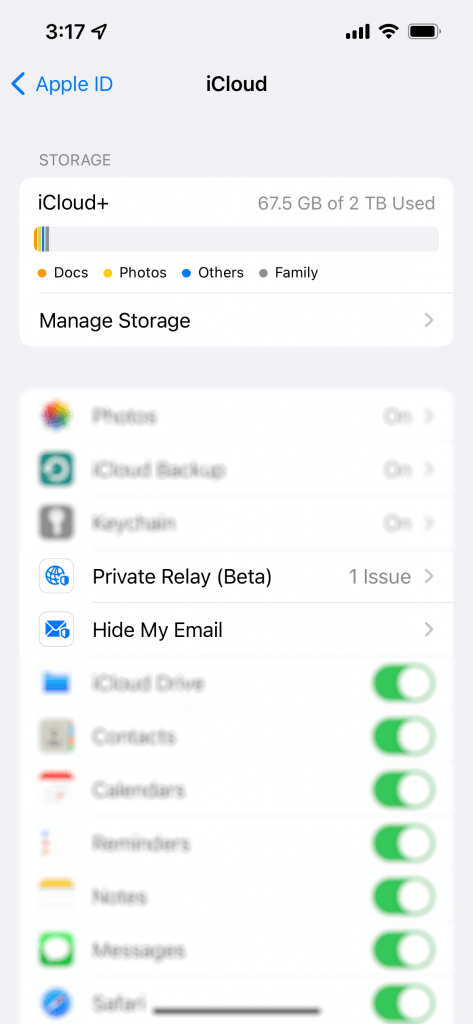
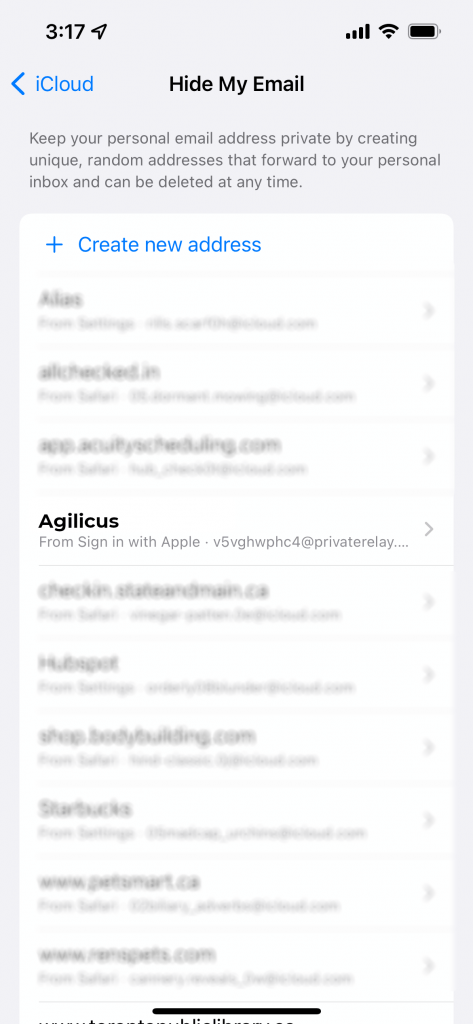
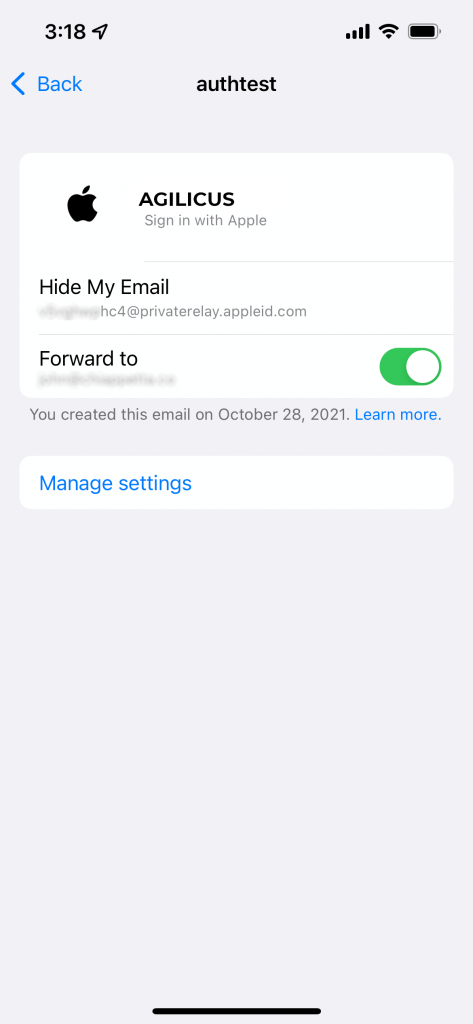
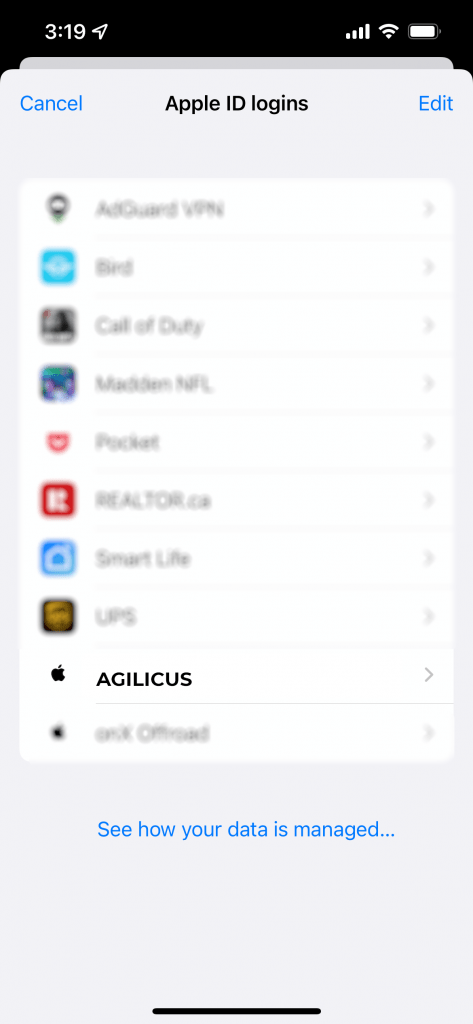
To check if you have inadvertently selected ‘Hide My Email”, you can check in your iCloud settings (via your Apple device). First, open iCloud. Then select ‘Hide My Email’. If you see an entry for ‘Agilicus’ this means you have declined to provide your identity for purposes of Authentication.
In order to correct this, first remove the Apple ID Login. Once removed, you may sign in normally (remembering to keep ‘Share My Email’ selected).
Want Assistance?
The Agilicus team is here for you. The ‘Chat‘ icon in the lower left, here, or in the administrative web page, goes to our team.
Or, feel free to email support@agilicus.com
Not yet a customer? The TRY NOW button will walk you through the process.
