Overview
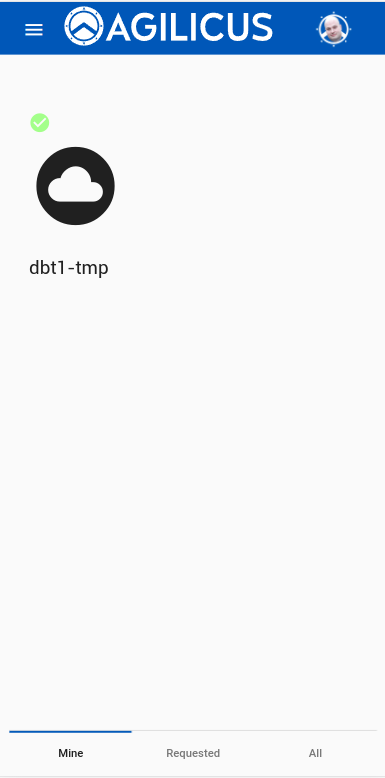
The Profile is a Progressive Web Application. You may access it as https://profile.MYDOMAIN. Depending on your platform, you can cause it to behave as a Mobile application by selecting ‘Save to Home Screen”.
Profile is responsible for:
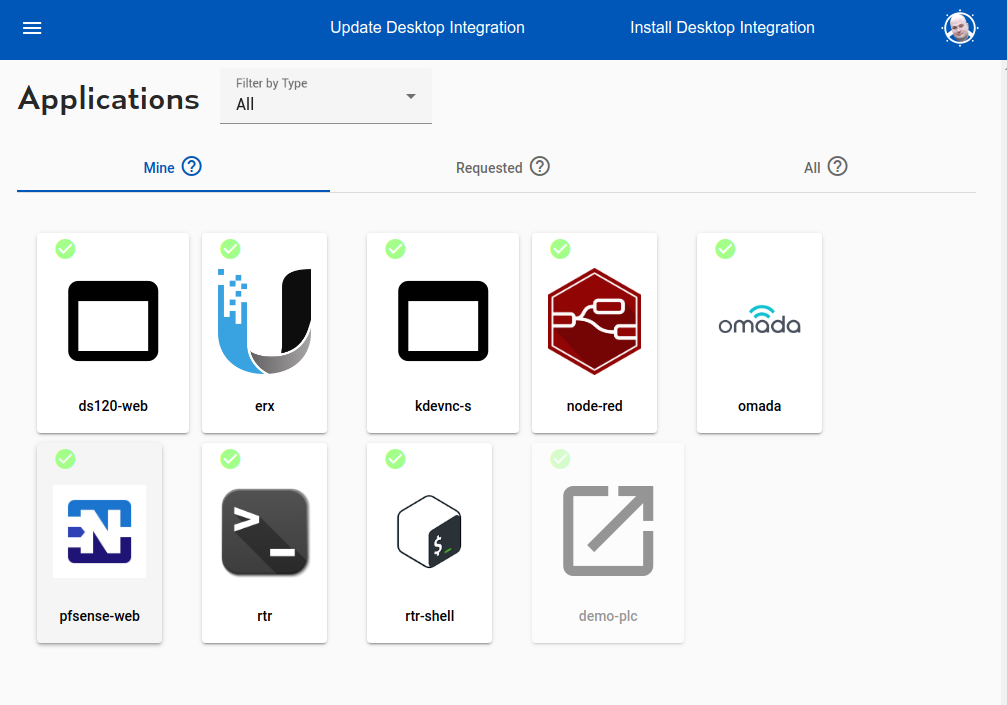
- Proviiding an Application Launcher interface. Each application you have published will (if marked public) have an icon. The interface will look similar to a mobile launcher screen
- Desktop integration
- Providing a Catalog for discovery purposes of available applications
- Allowing end-users to request access to applications
- Configuration and control of Multi-Factor Authentication (WebAuthN, TOTP Authenticator Applications)
- Providing a catalog and request workflow for Shares
Applications, Initial Launch
On startup, the Profile will show a launch tray. There are 3 tabs which may be access via swiping or selecting (depending on platform).
The default tray, ‘Mine’ has an icon per application of the organisation. These may be selected to launch the web application directly.
The ‘Requests’ tray has a list of applications the user has requested access to, which are pending approval. You can see more information about how the Requests work.
The ‘All’ tray has a list of all applications. Once which are already available will have a green checkmark. The remainder may be selected, the user will be prompted for some context information, which will be presented to the Request Approver. This might be their employee id, team, reason for asking, etc.
Shares
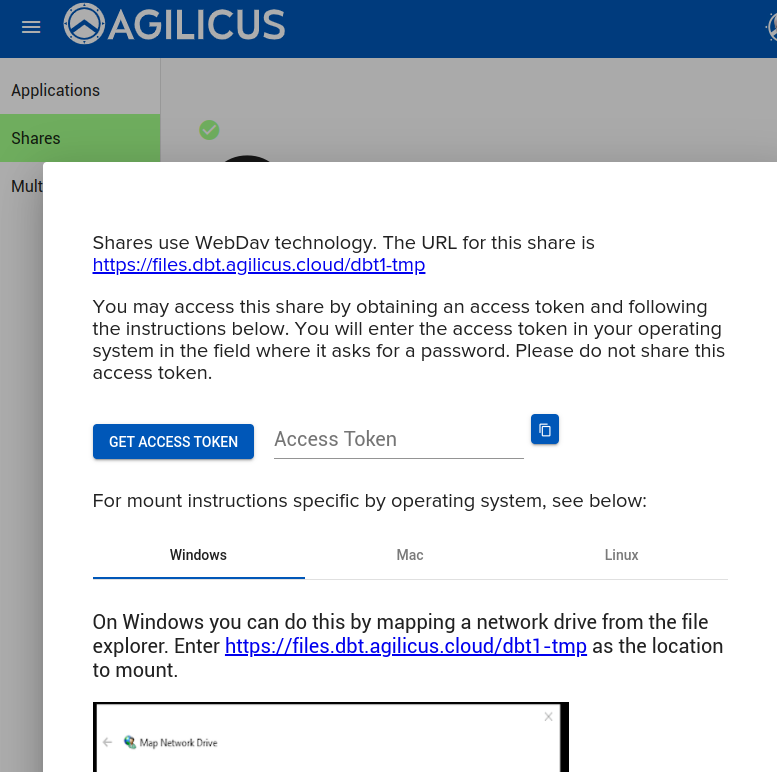
The Shares tab works the same was Applications does. A user may see the list of Shares their organisation has, the ones they have requested access to, and the ones they have access to.
For the Shares the user may select one and will be given instructions on how to mount it, including creating an Access Token, which acts as a one-time password.
Multi-Factor Authentication
See setting up and configuring Multi-Factor Authentication for more information on rules, methods, trust-on-first-use, audit, etc.
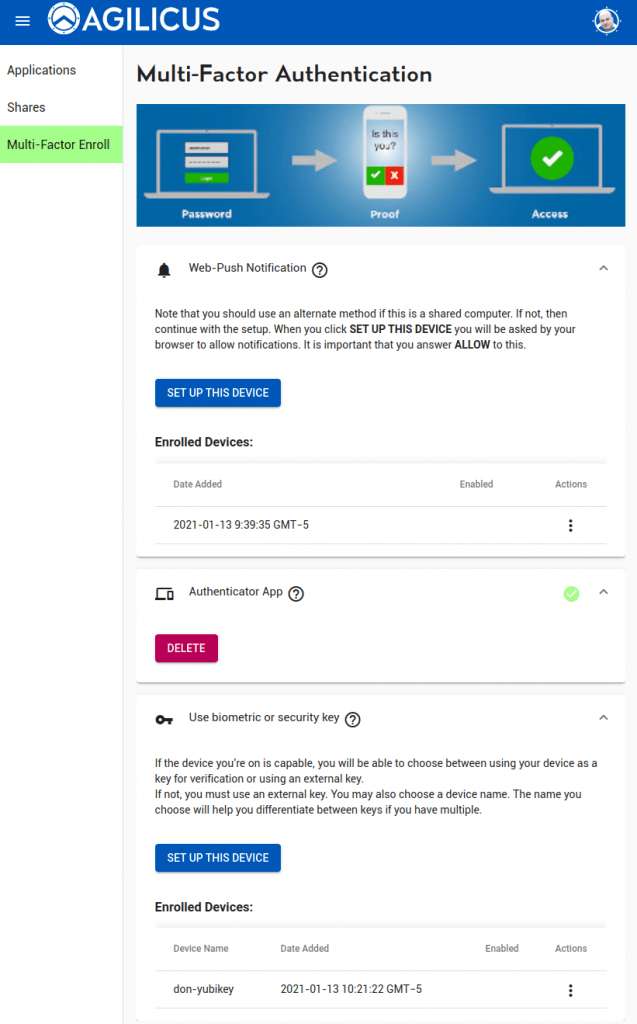
End users can configure their multi-factor authentication enrollment and preferences via Profile. If Trust-On-First-Use is enabled, they will be forced here on their first sign-in.
Depending on how you have set up your organisation, users will have one or more methods available to configure. These include WebPush, Authenticator Applications (TOTP), and WebAuthN (USB Key, built-in trust store, biometric, etc).
WebPush Notification
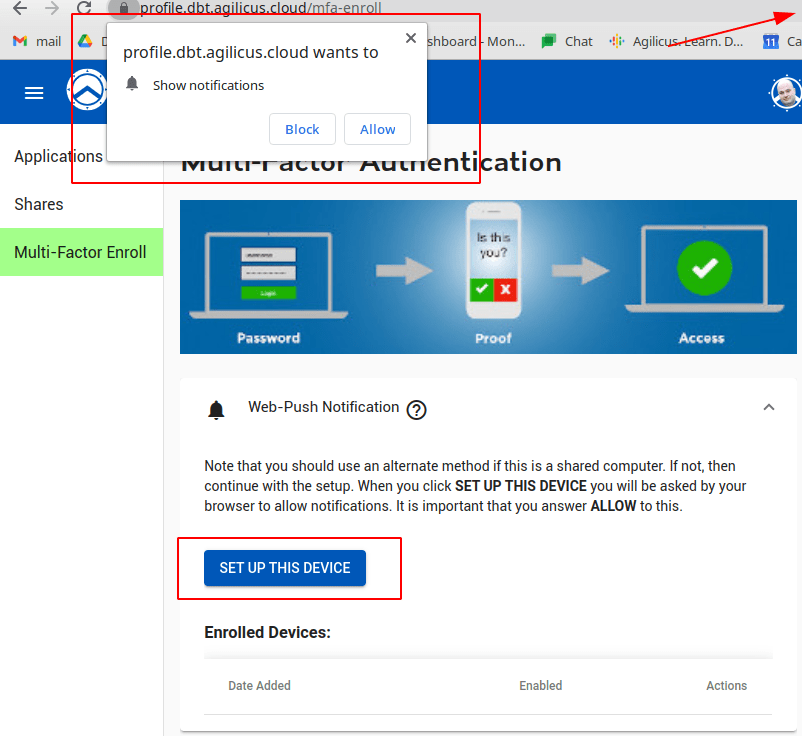
Web Push notifications work on all platforms except IOS. In this model, the user marks this device as trusted. When they sign in, this device will alert them, and they can choose to accept/deny the sign-in. A user may enroll multiple devices. A user may sign-in on a desktop device and receive the verification methods to e.g. a mobile device.
When the user selects ‘SET UP THIS DEVICE’ they will be prompted to accept push notifications. They will then receive a test notification which they must click and accept.
Some users may need to enable push notifications for this site, or globally, in order to use this feature.
Authenticator Application (TOTP)
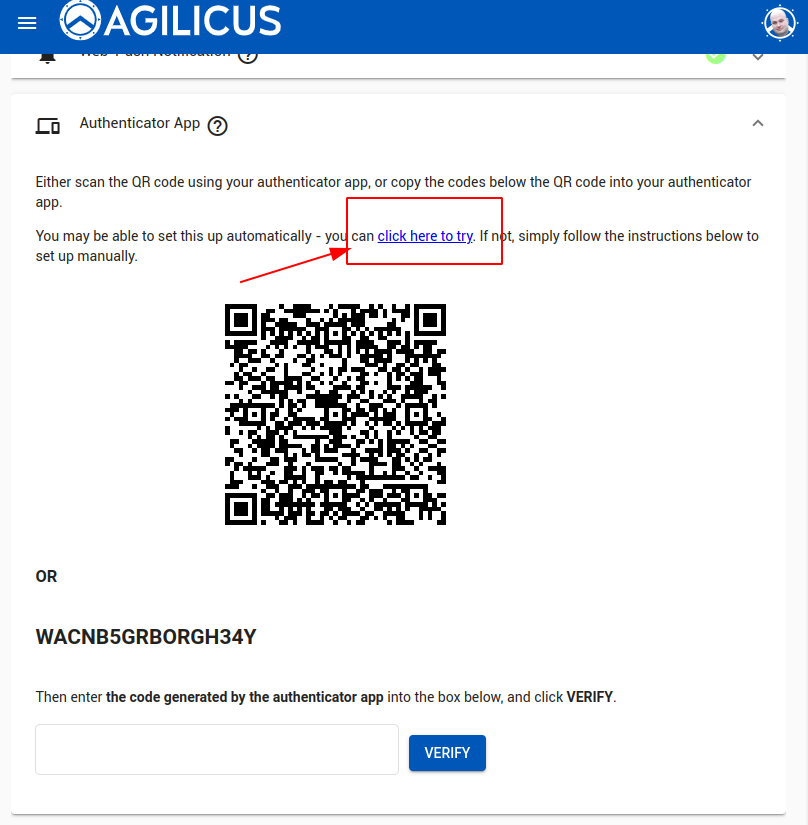
An Authenticator Application uses a rotating one-time key that changes every 30s or so. In order to use it the user must install an Application. Agilicus recommends Authy, but the TOTP standard works also with FreeOTP, Google Authenticator, Microsoft Authenticator, and others.
The user may enroll a single authenticator device. If the Authenticator runs on the same device you are enrolling on, select the “Click Here to Try” link, which will switch to your Application and walk you through the process.
If the authenticator runs on a different device (e.g. on your mobile and the profile is opened from desktop), there will be a QR code shown, open your Authenticator and add via its instructions.
Biometric Or Security Key
This sets up a set of standards called WebAuthN. The end user might use a USB Key (e.g. Yubikey, Google Titan).
if using the built-in trust store (e.g. biometric), then the Profile *must* be run on the same browser you plan to use for the other applications.
