Ubiquiti EdgeRouter-X EdgeMax
Web Interface
The Ubiquiti EdgeRouter-X has a built in web interface. In this example, we use a connector installed on it to make this web interface available to arbitrary users over the public Internet
Overview
The Ubiquiti EdgeRouter-X has a built in web interface. In this example, we use a connector installed on it to make this web interface available to arbitrary users over the public Internet… without opening the firewall. Each user must use Single-Sign-On via Agilicus plus their existing identity provider, and then can access from any device without a VPN.
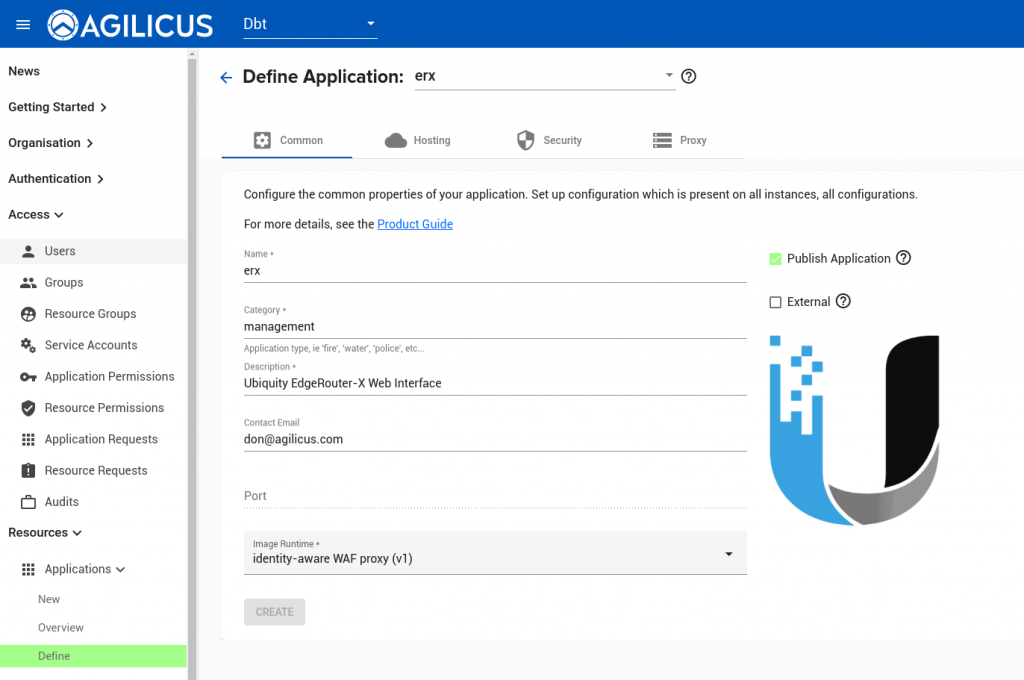
Step 1. Create application
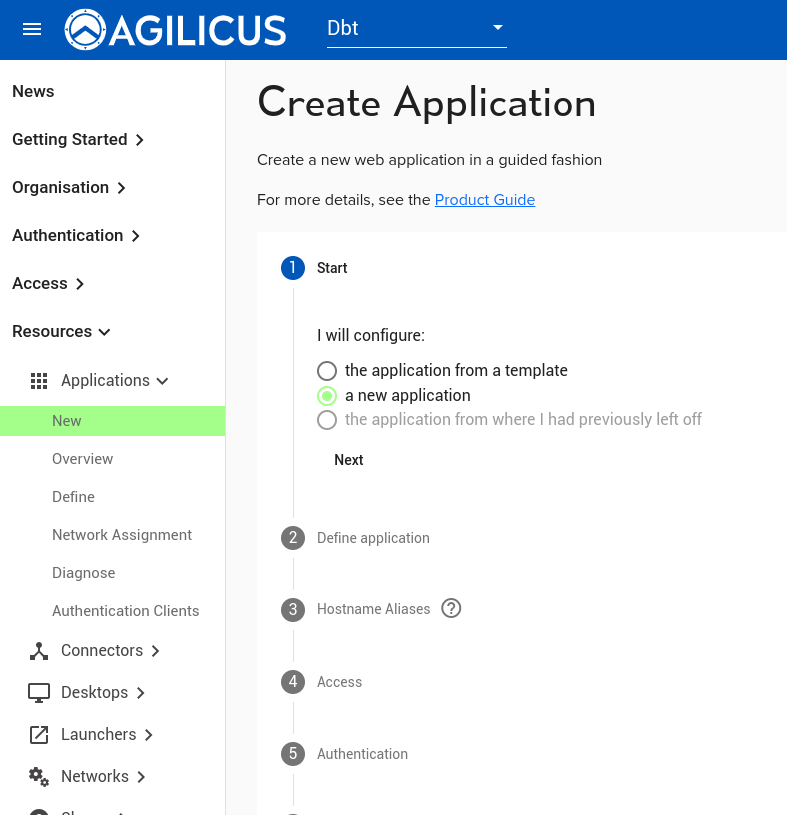
Step 2. Enter name (hostname we will use externally), description
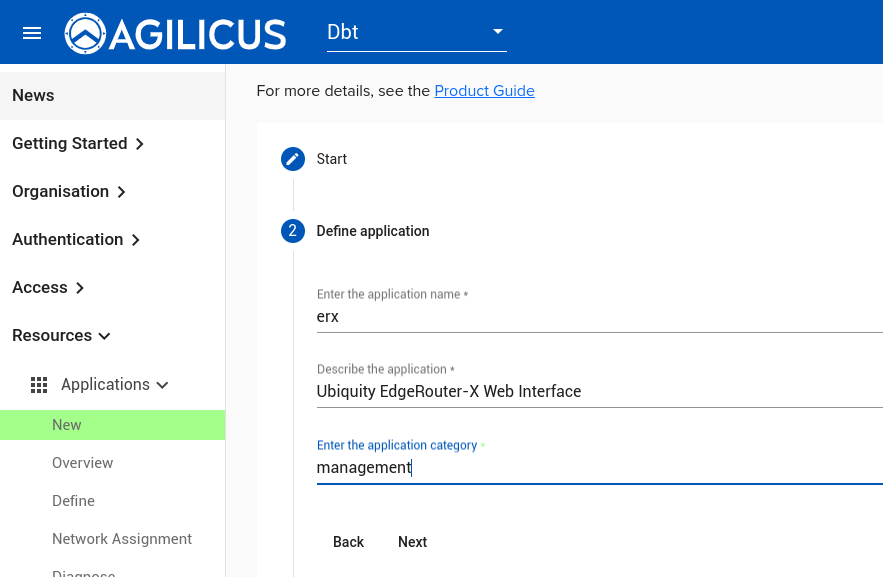
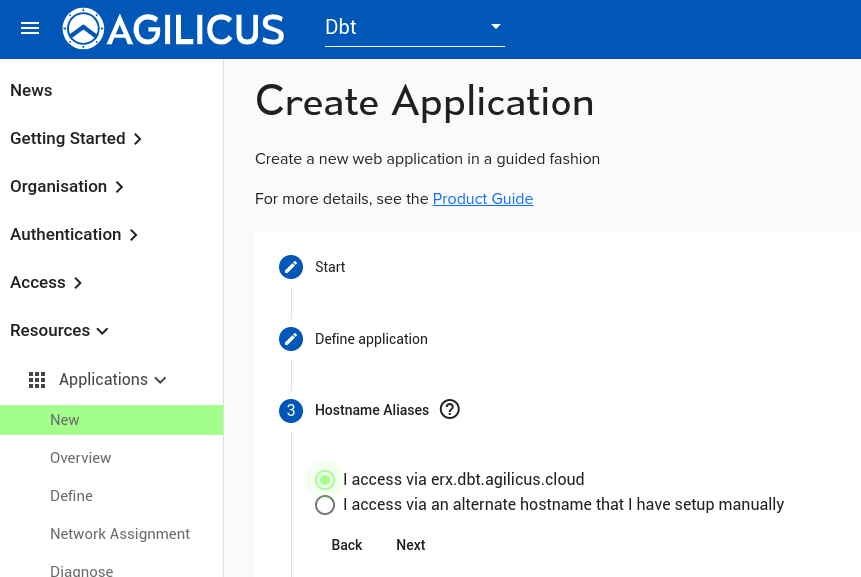
Step 3. Indicate we use standard pattern hostname.
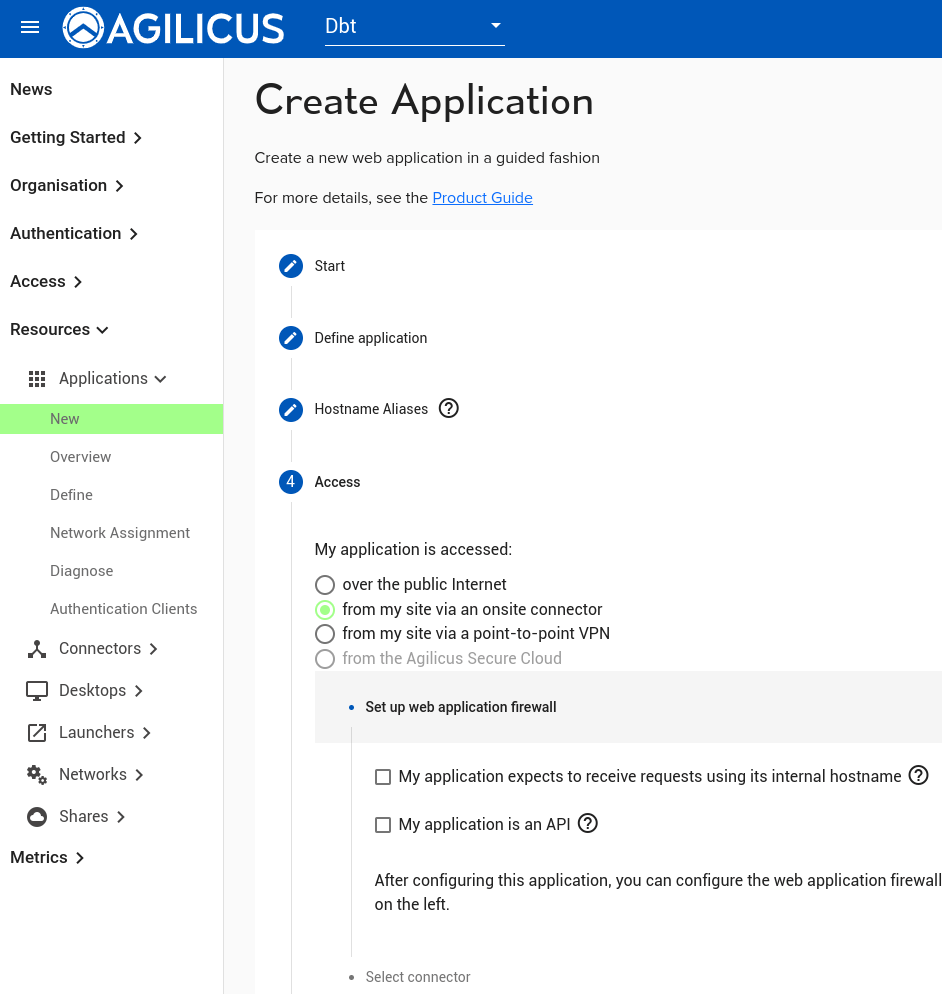
Step 4. Indicate its via an Agilicus Connector (in this case, installed on the Ubiquiti EdgeRouter-X directly).
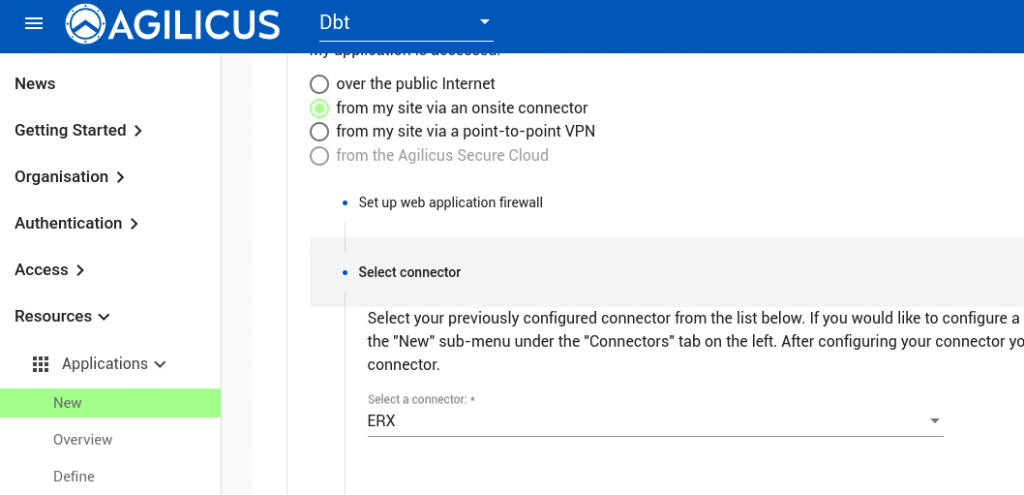
Step 5. Select the connector (previously configured as per instructions)
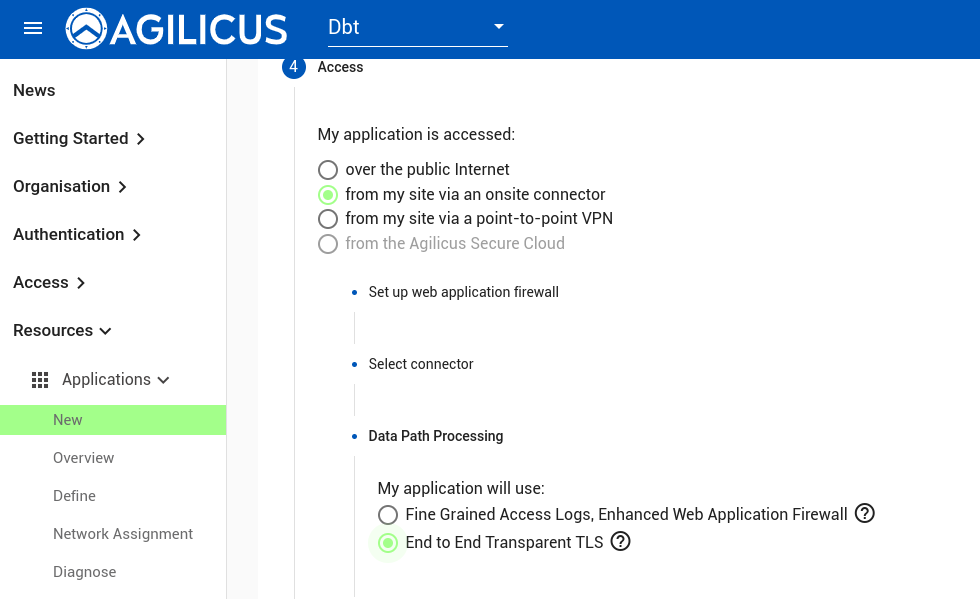
Step 6. Indicate we will use TLS from user to device.
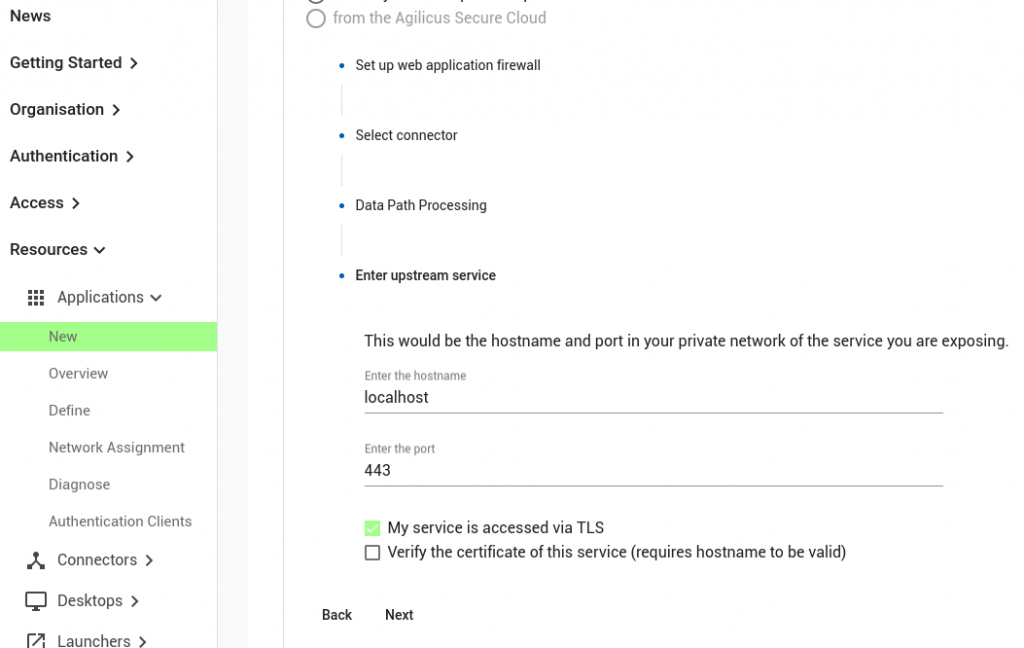
Step 6. Configure upstream as localhost:443, on TLS (this is the local web server of the EdgeRouter)
Step 7. Indicate that Agilicus will do an OpenID Connect Authentication Proxy, use /logout as the revoke token URI.
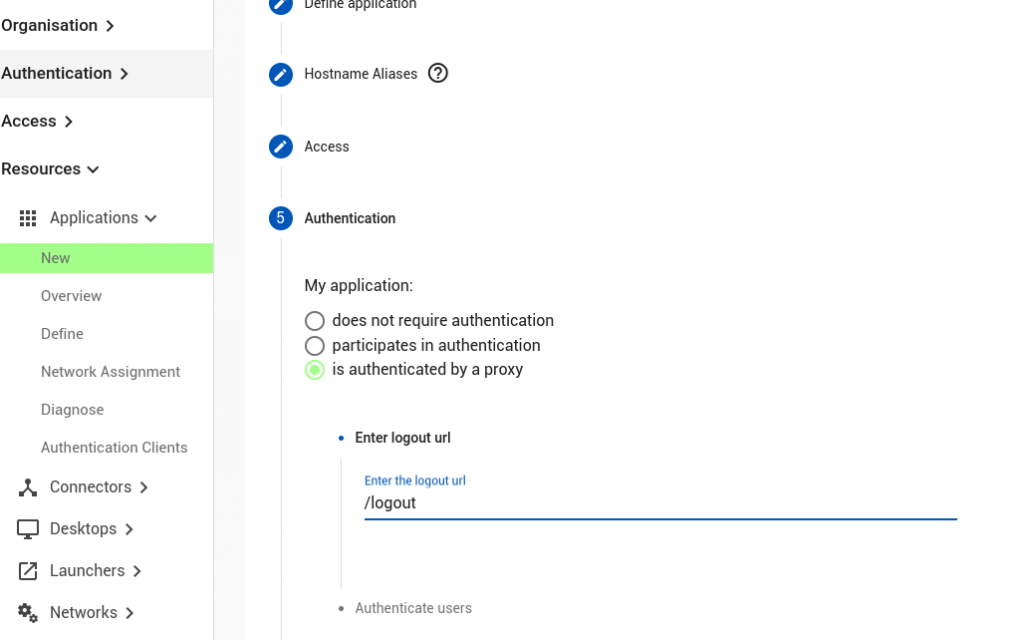
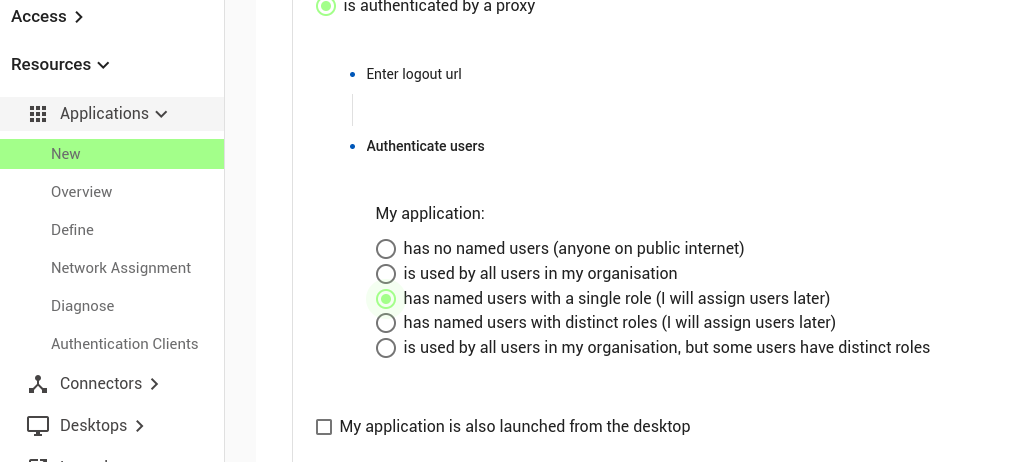
Step 8. Indicate that we will have individual users.
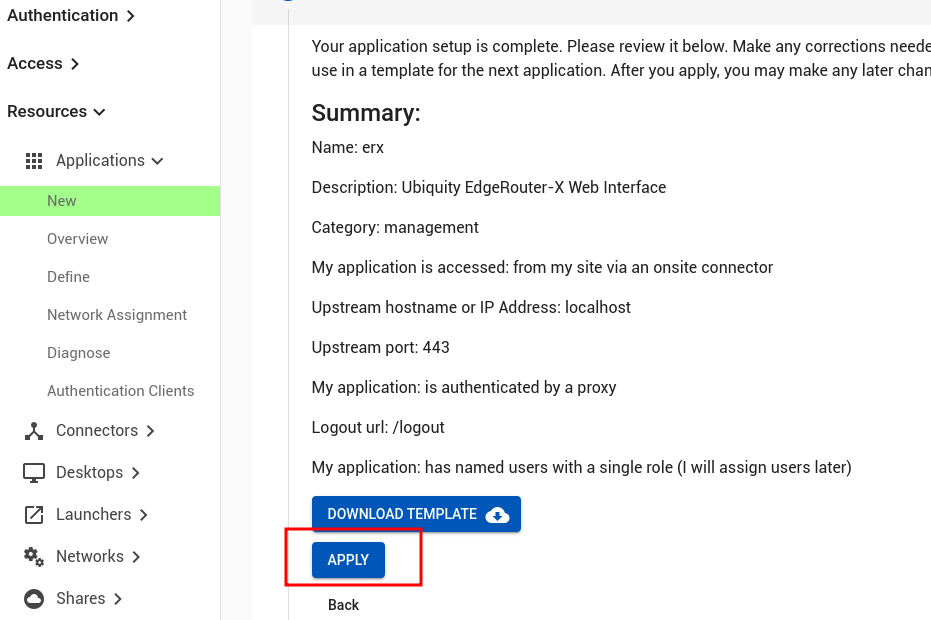
Step 9. Apply. After this is complete we will then add a user to permissions and test.
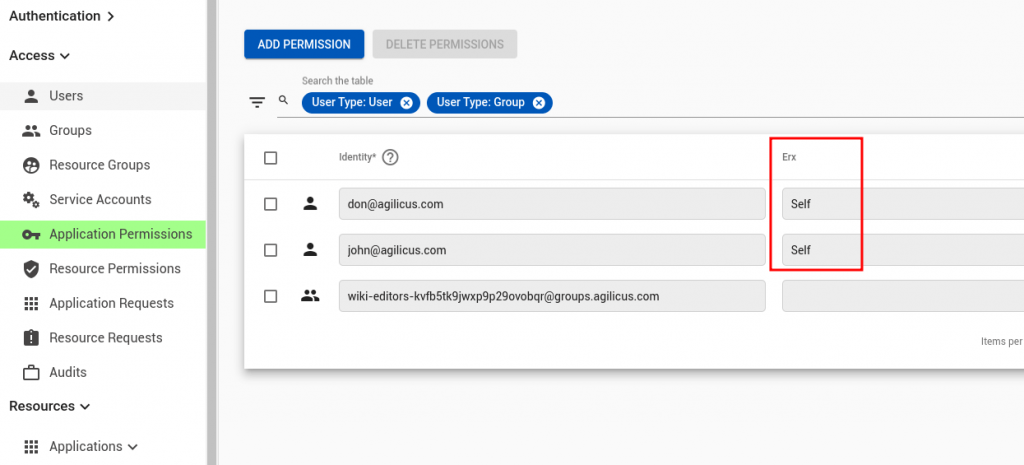
At this stage we can assign permissions:
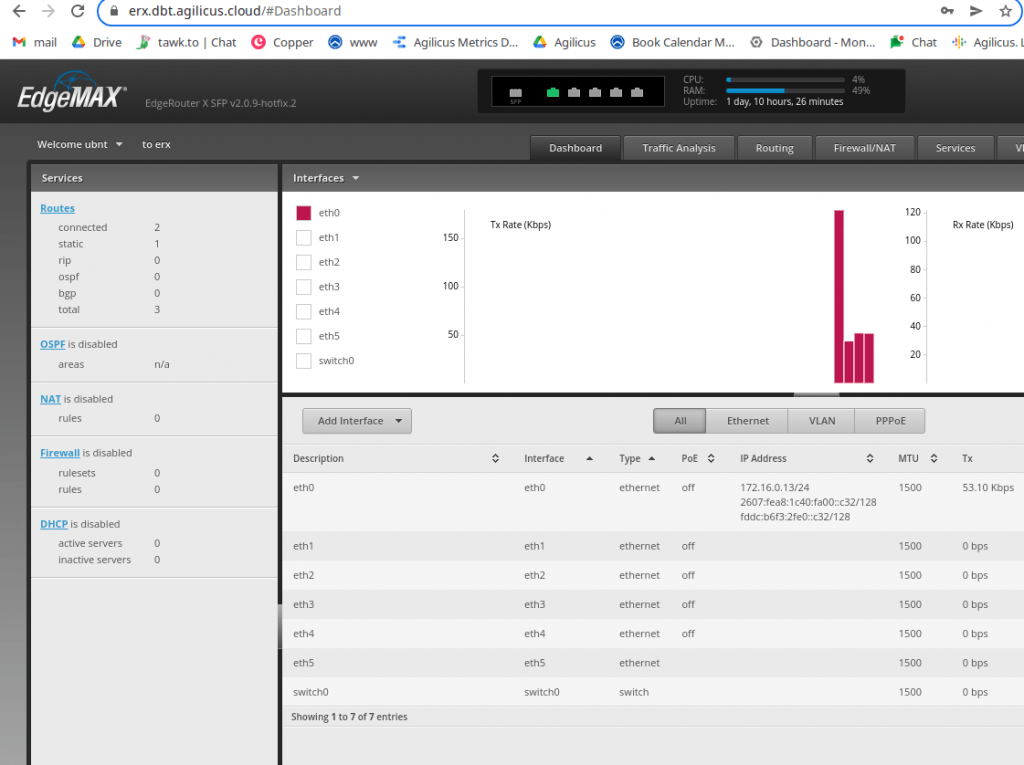
Now we can either use profile (https://profile.MYDOMAIN) which has all applications in it as a launcher, or navigate directly (https://erx.MYDOMAIN).
If desired, publish so that it is selectable in profile, and give it an icon:
