UDP via SSTP VPN
When only a subnet will do
This example demonstrates using the SNI-expose feature to allow direct access to a VPN, skipping authentication and authorisation.
It is suitable for cases where a VPN is required (e.g. UDP adjacency) to a system that is behind a restrictive firewall, satellite, cellular, NAT.
Overview: UDP via SSTP VPN
In this example I show a method of running a traditional VPN on top of Agilicus AnyX. Its important to note that this dramatically reduces the security: there is no Zero Trust, there is no single-sign-on with multi-factor, there is no fine-grained authorisation and audit: its simply a tunnel. Be very careful in setting up these instructions, you are relying solely on the strength of the VPN passwords, on the strength of the VPN encryption, on the security of the software implementing the VPN, achieving UDP via SSTP VPN.
In this example, I am going to use Microsoft SSTP (which is PPP over HTTPS over TLS) in conjunction with the Agilicus AnyX SNI exposed host. This will allow you to emulate an HTTPS inbound connection, even if you have outbound only connectivity. Similar to other systems that use Dynamic DNS and Port Forwarding, you will get a single, stable hostname which is always available on port 443, which is directly attached to your SSTP server.
In this example write up I will use SoftEther VPN. We provide some example configurations for it, but ultimately you can configure it however you wish and responsible for ensuring its setup correctly for your environment. The SoftEther SSTP VPN allows both bridged and routed (NAT) environments, you may use the bridged environment if there is a DHCP server on the same subnet, in which case the client will appear as local.
Agilicus AnyX Setup
The first step is to install a connector on the site which will have port-443 access to your VPN server. I recommend running this on the same server as the SoftEther.
You will install the connector in the standard fashion (see installation instructions) for your platform. This connector can be shared with other purposes, it need not be dedicated.
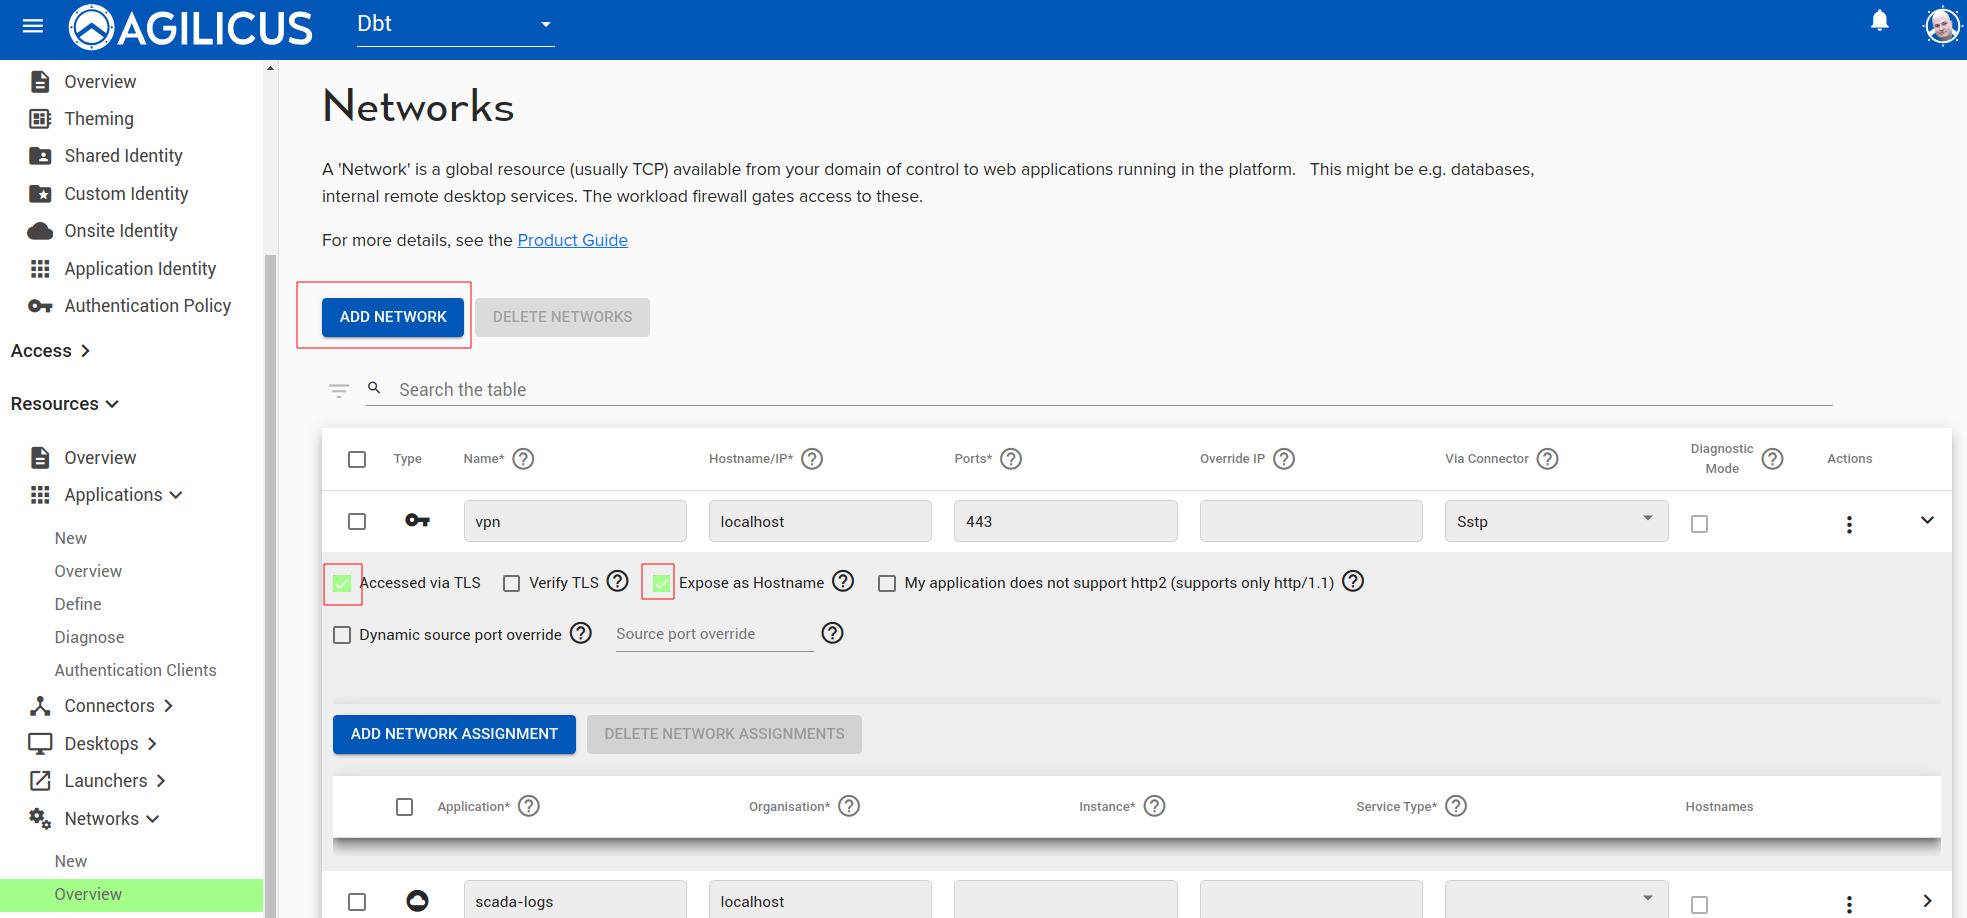
The second step is to create a ‘network’ and, expose it via hostname. In the below example, I have created a connector called ‘sstp’. I have created a network called ‘vpn’. The upstream hostname/port is the hostname/port of the on-premise SSTP server. Since I have installed it on the same host, I have used localhost, port 443.
In addition, I have set the service to be TLS (since the SoftEther server, SSTP, is TLS), and, I have marked ‘Expose as Hostname’. The Expose as Hostname causes the Server Name Indication (SNI) to be directly Internet routable by name. This is logically equivalent to a dynamic DNS + port-forward solution.
The external hostname will be <service-name>.networks.<yourdomain>. So, for example, if you sign in to https://admin.myco.anyx.cloud, and your create the service name as ‘vpn’, the external name will be vpn.networks.myco.anyx.cloud. You may test it by opening in your browser as https://vpn.networks.myco.anyx.cloud. This will give a simple web page or an empty web page.
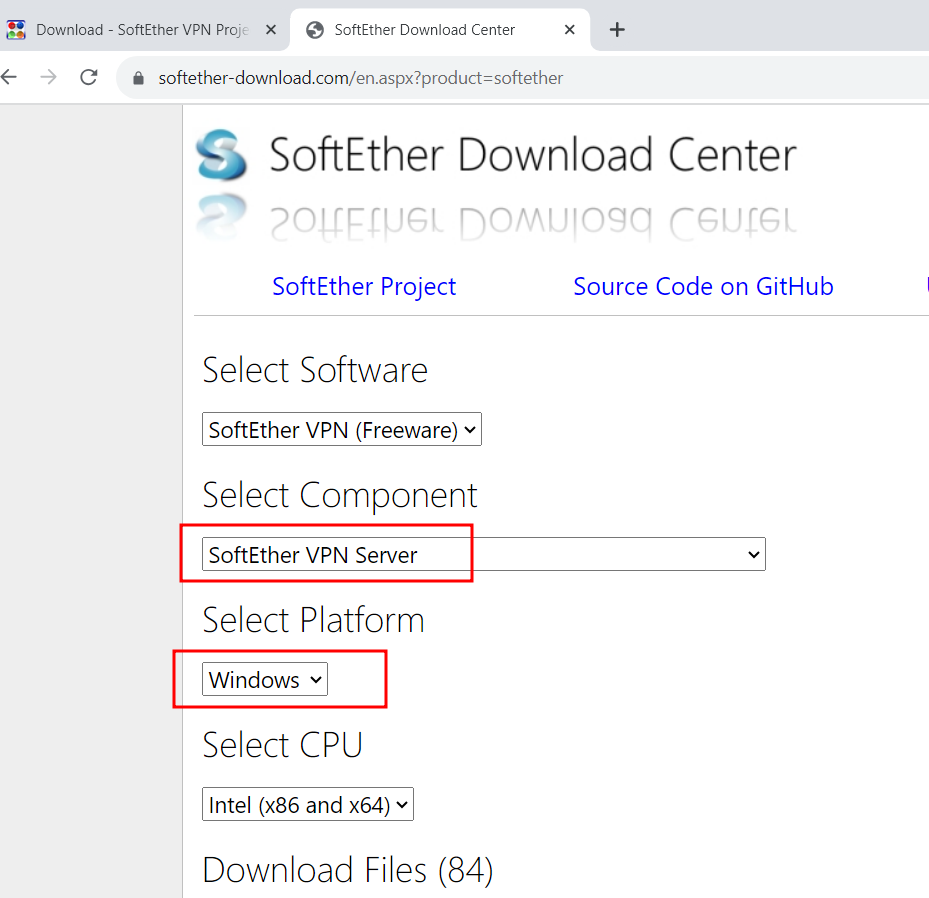
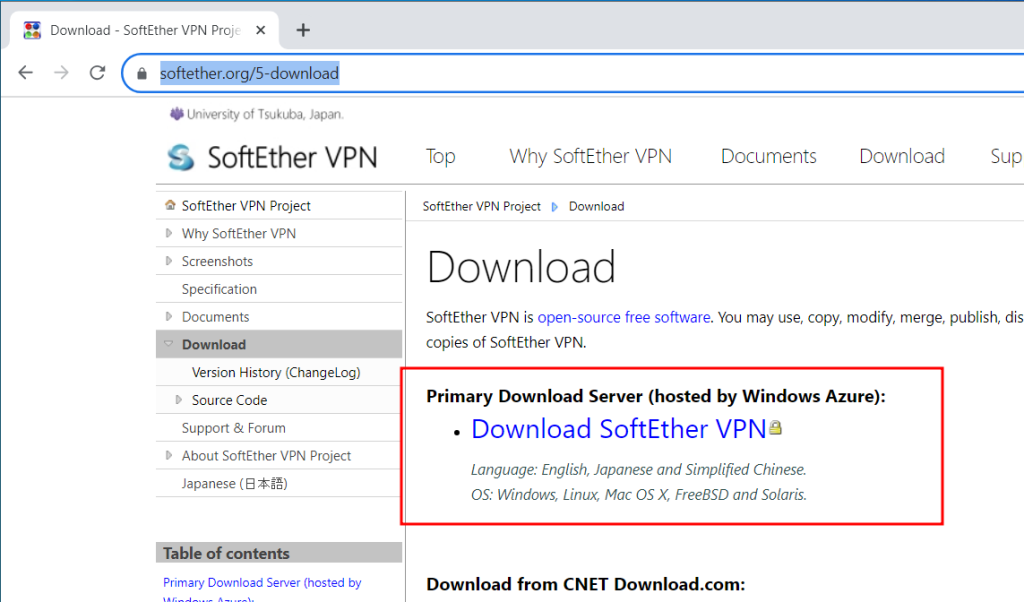
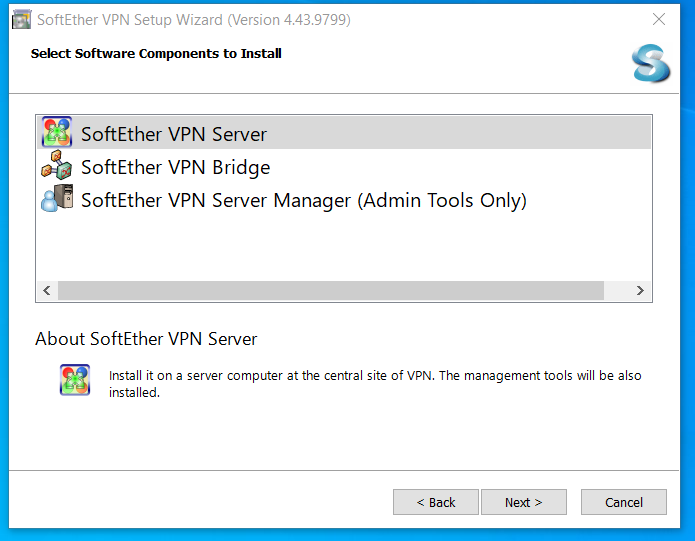
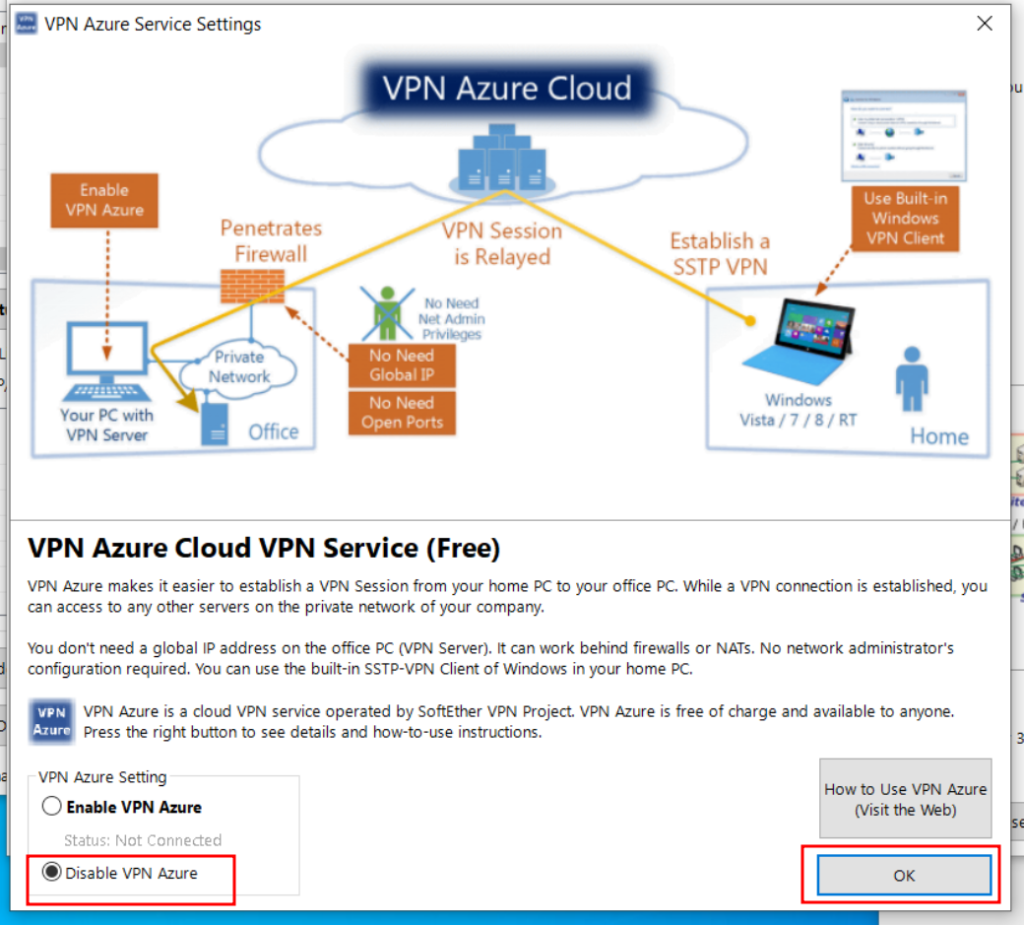
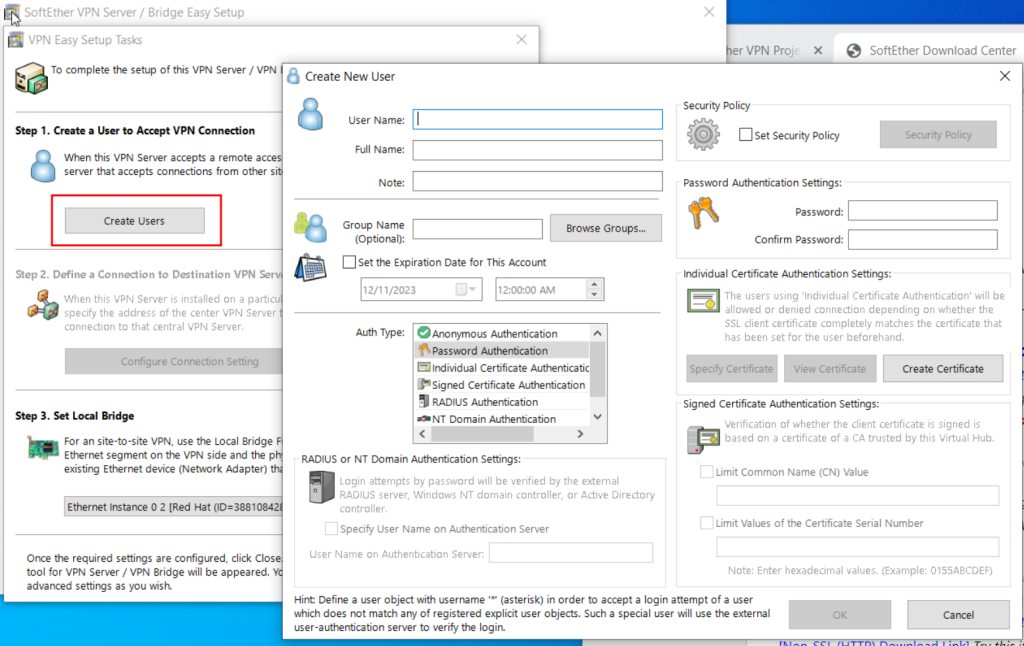
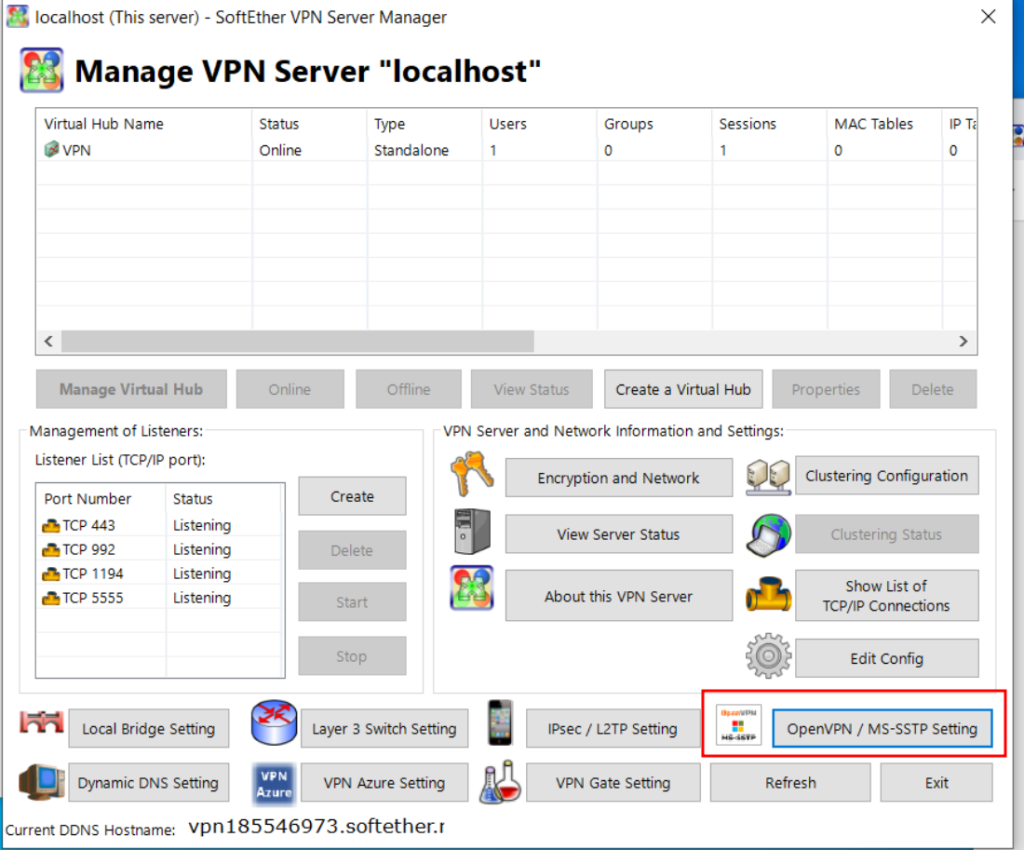
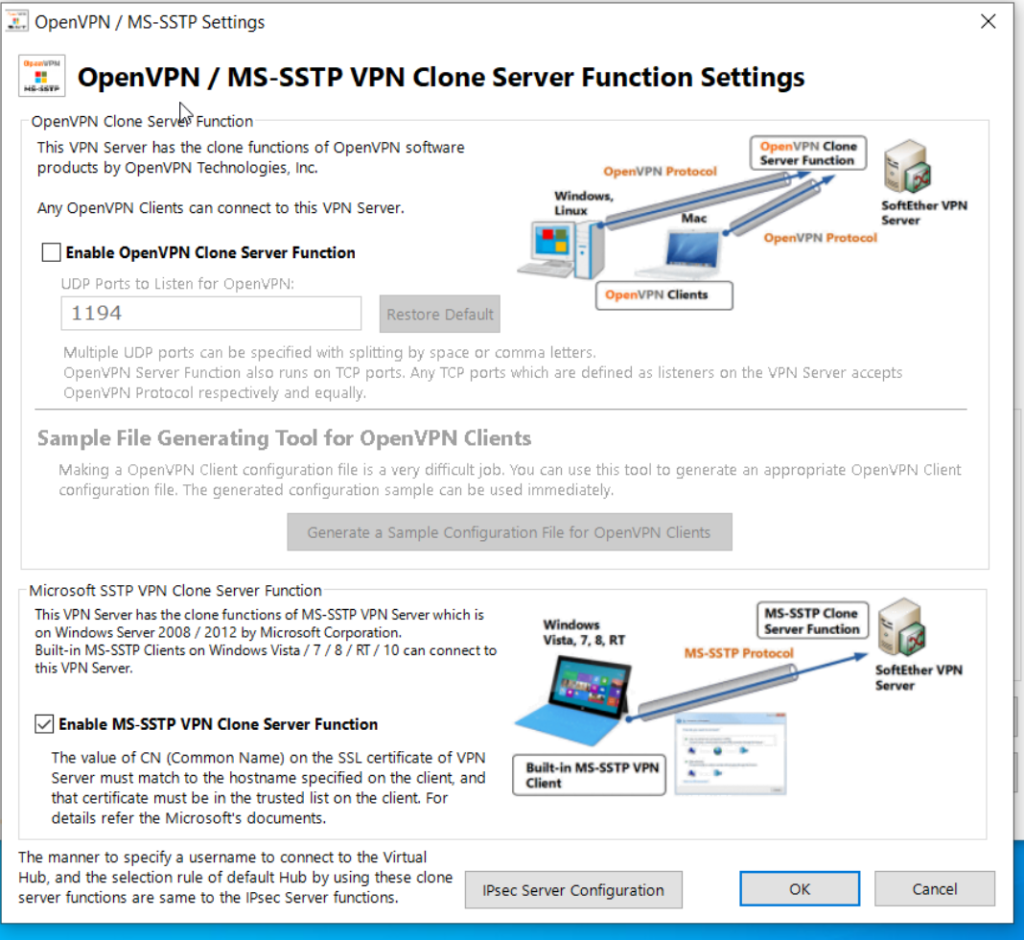
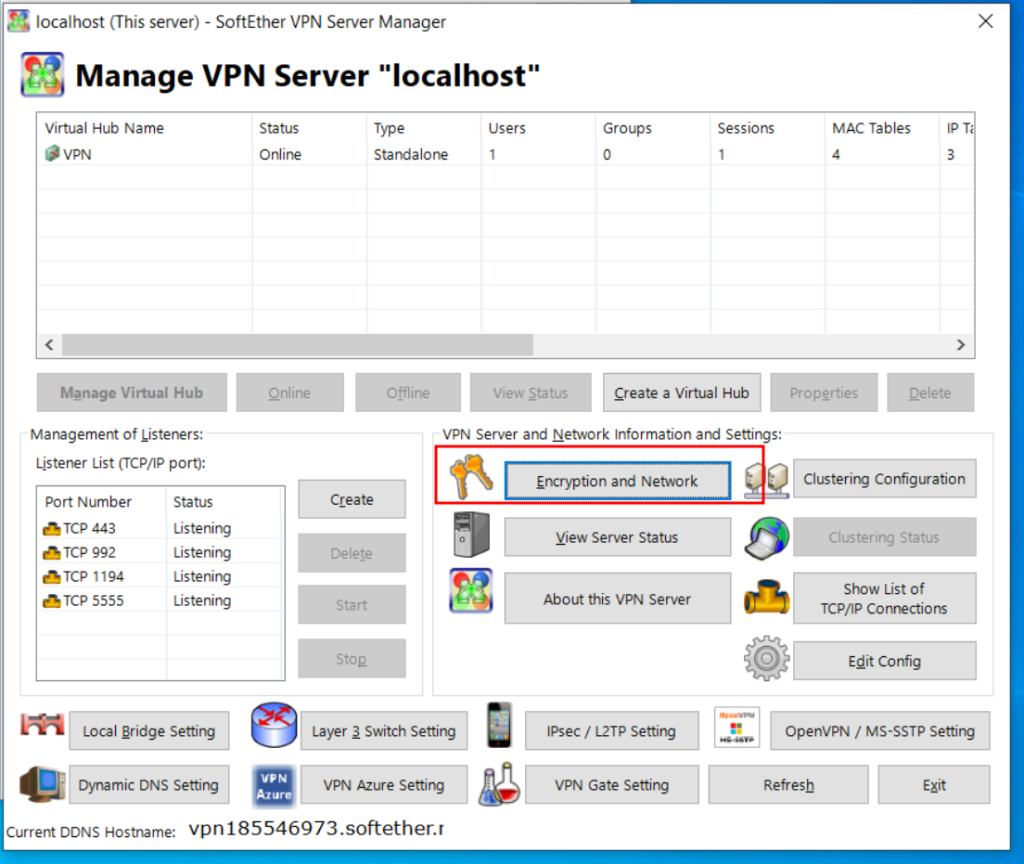
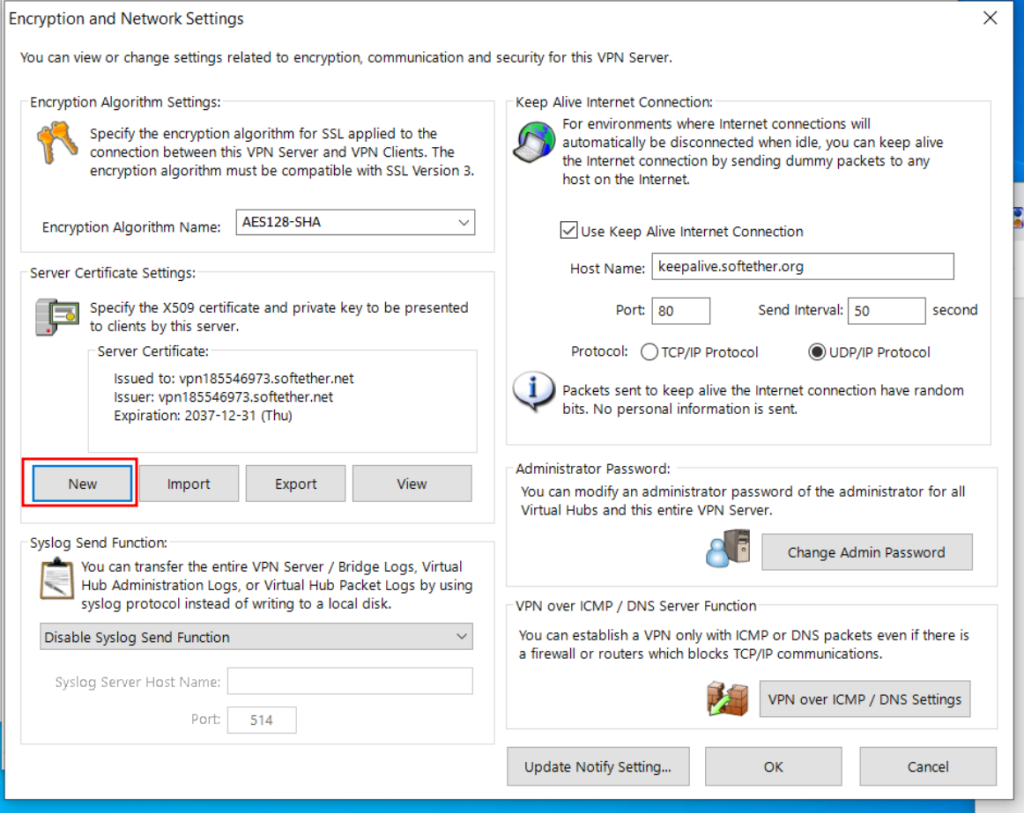
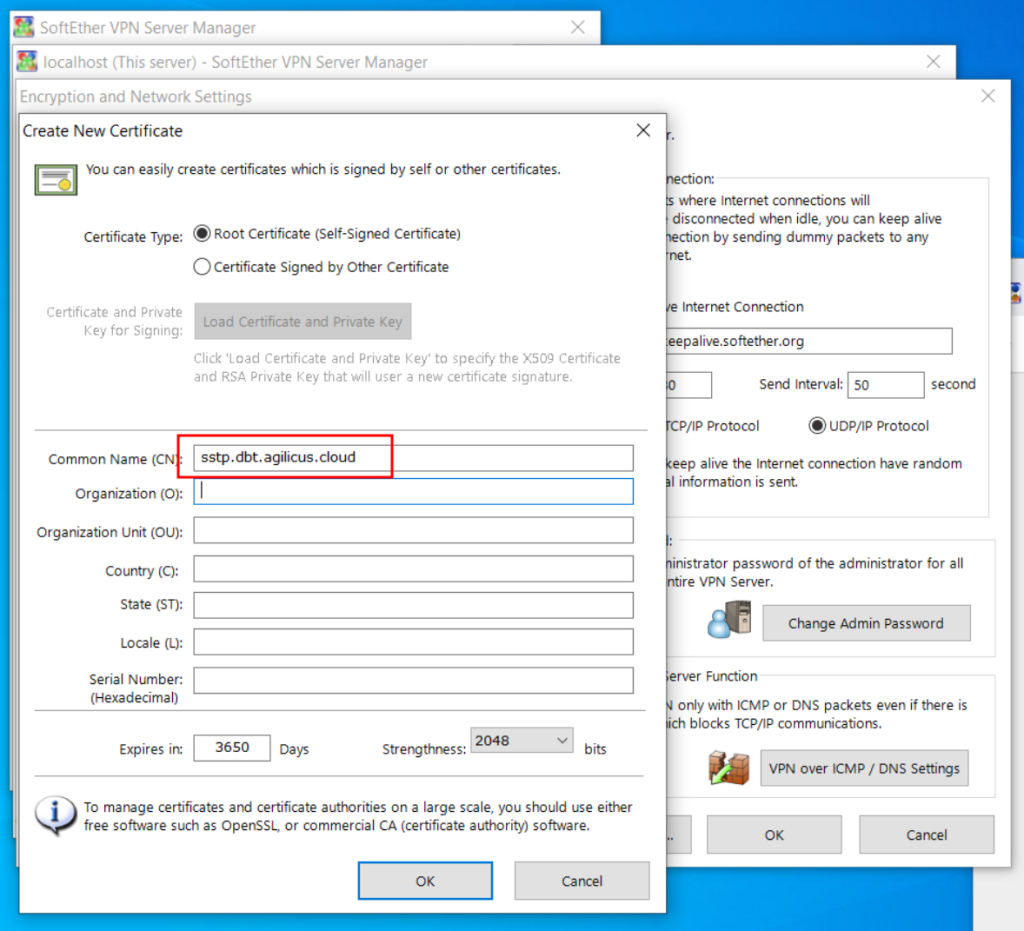
SoftEther VPN Server Setup: Windows
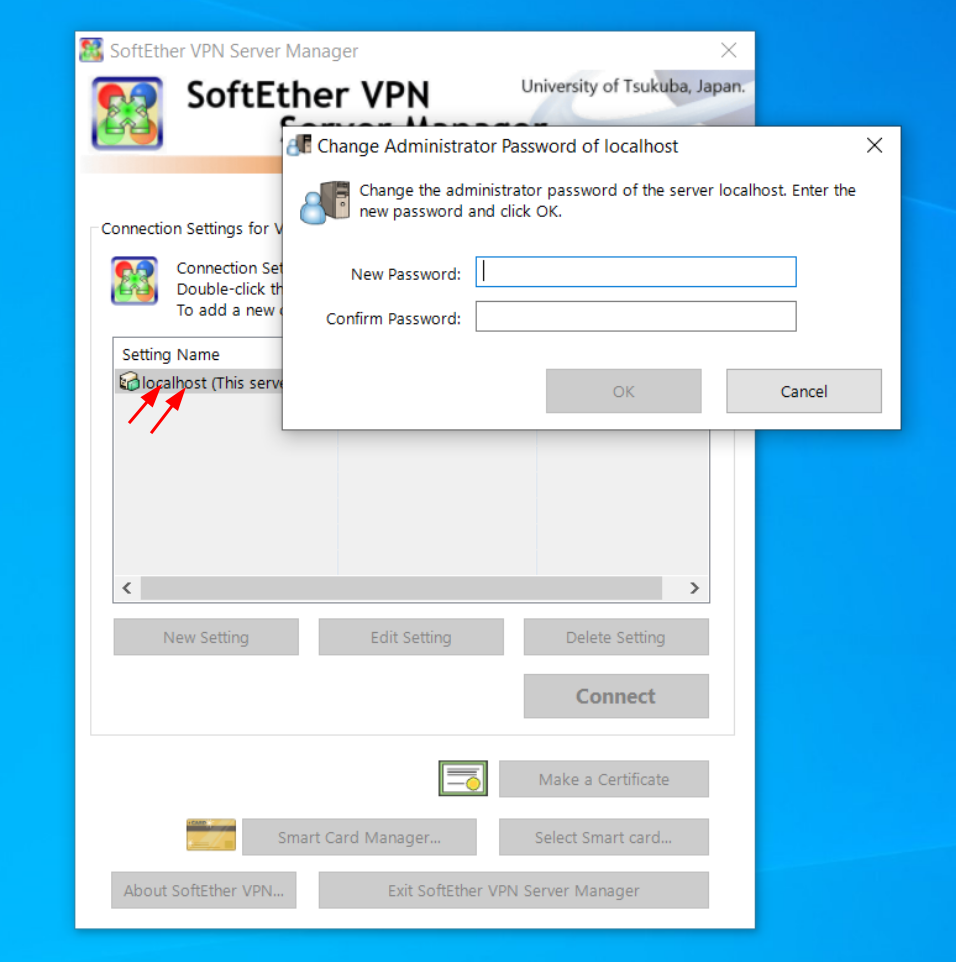
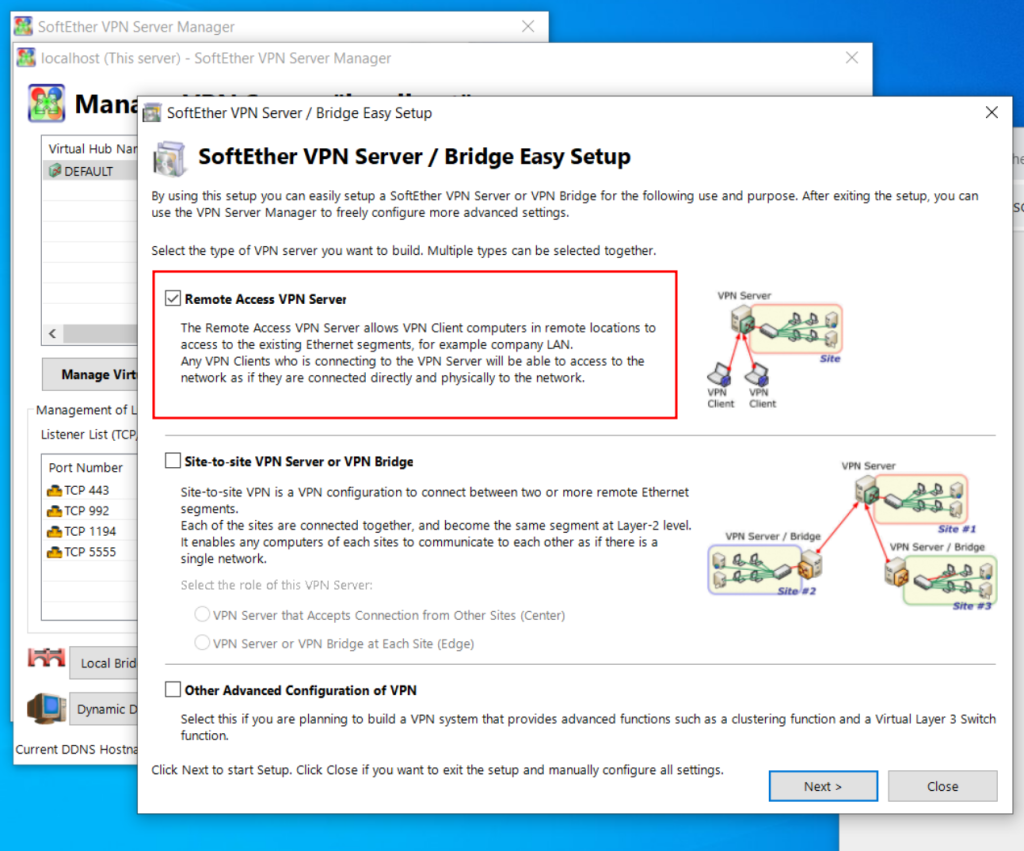
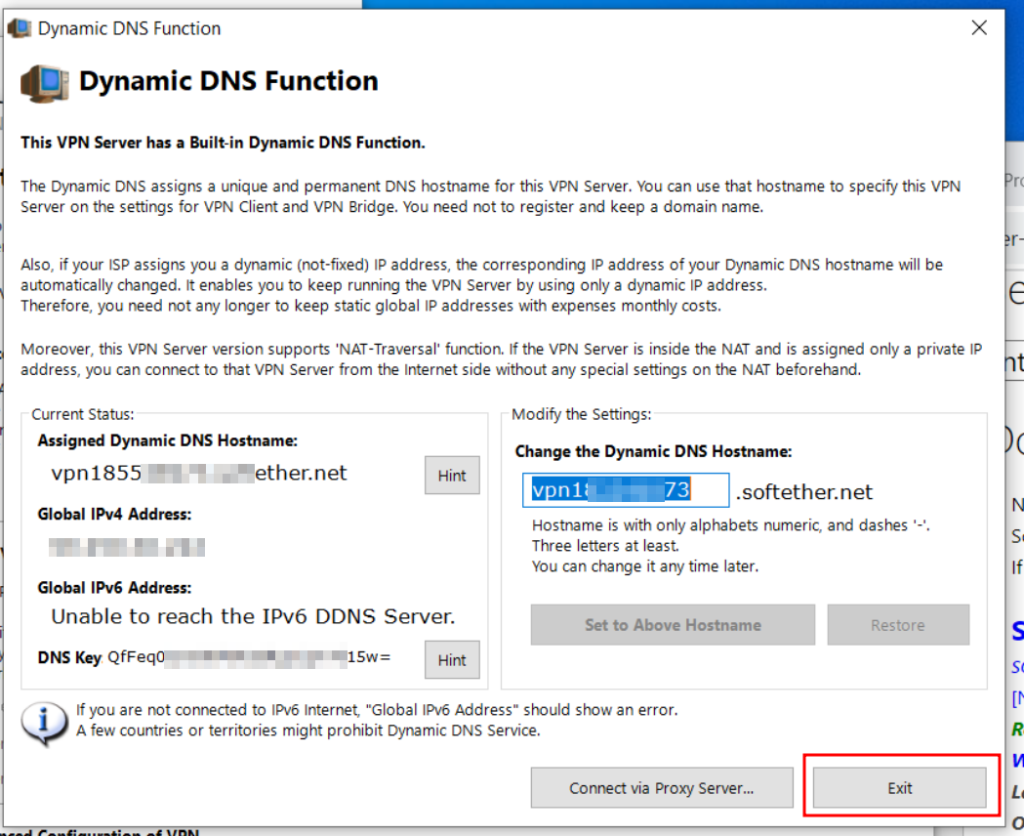
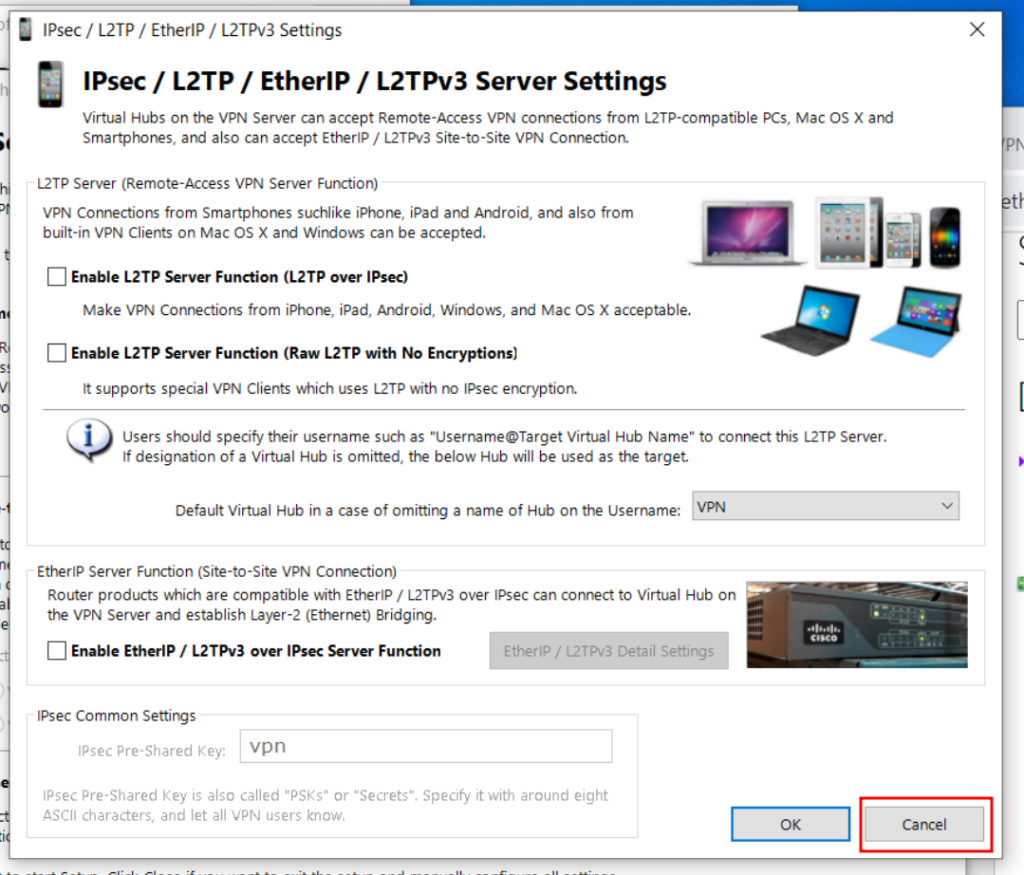
You have signficant latitude in how to configure SoftEther on your windows machine (the server side, where the connector runs). Here I show a single opinionated install, feel free to make you own choices.
At this stage, examine the other settings. The interface you are bridged to, whether you should use SecureNAT and DHCP.
Client Setup and Test
Android Client
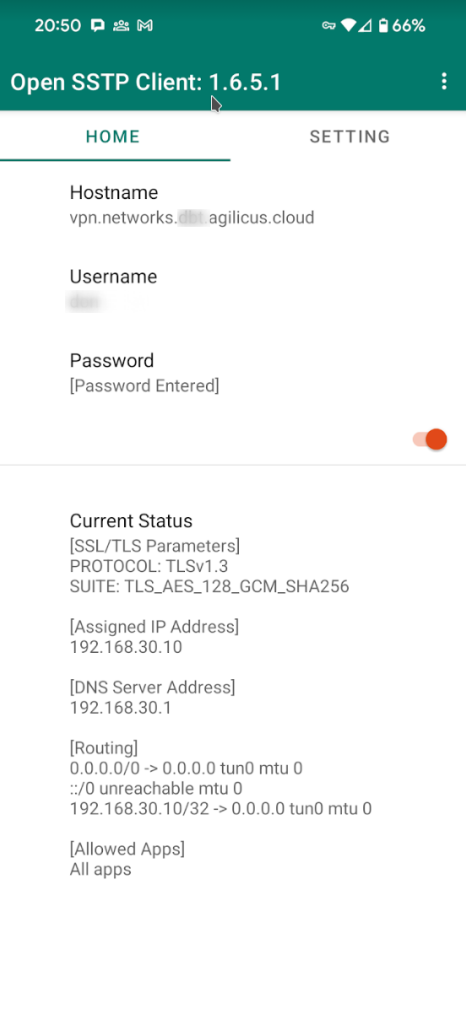
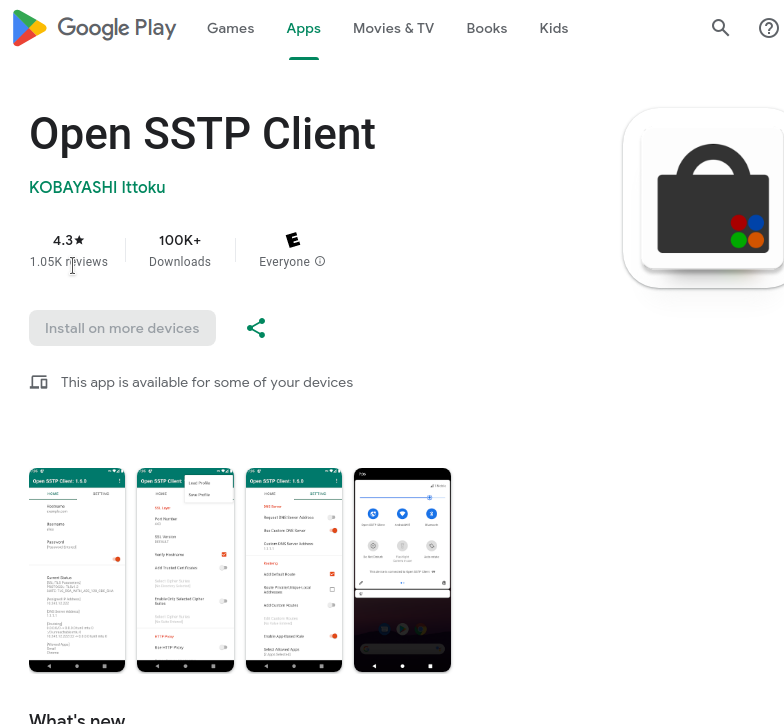
Multiple clients are available for Android. I have tested with Open SSTP Client.
https://play.google.com/store/apps/details?id=kittoku.osc&hl=en_CA&gl=US
The setup of this client is very simple:
- Hostname (as above in Network name)
- Username (as above in User created)
- Password (as above in User created)
at this stage, you can press the enable button, and it should stay enabled.
Windows Client
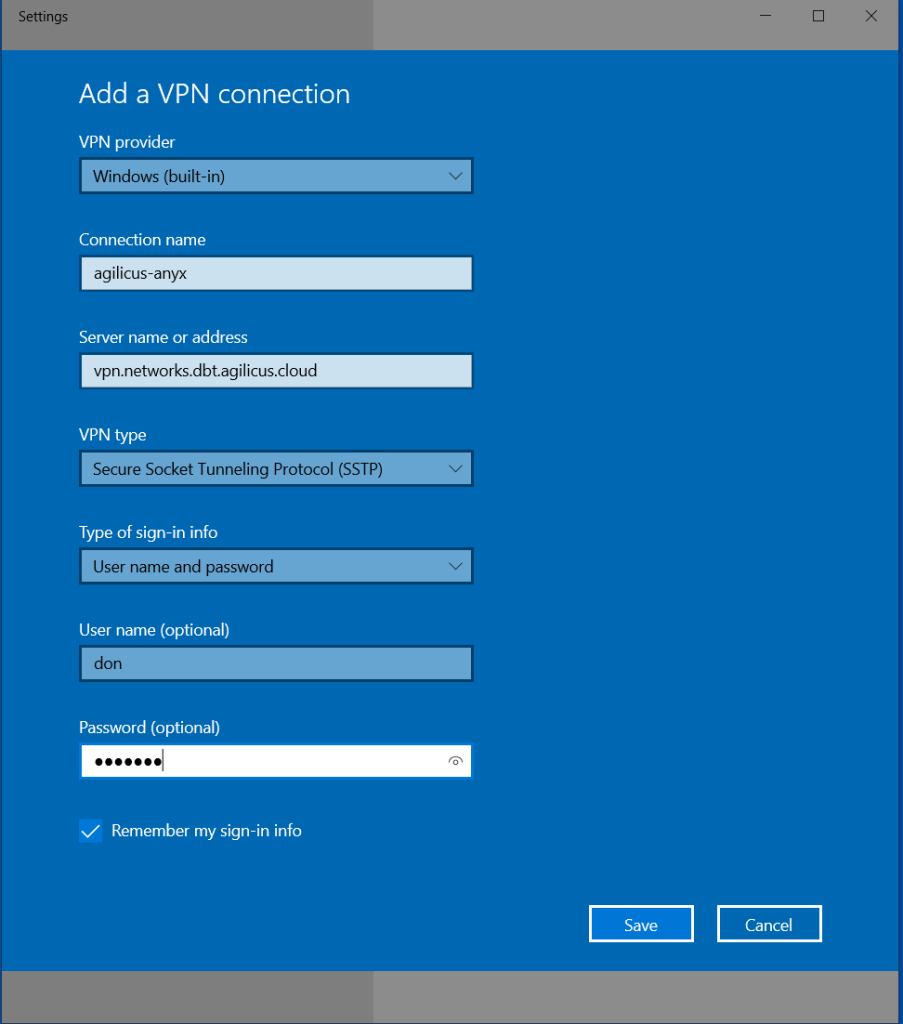
For Windows, we will use the built-in Microsoft VPN provider.
On the start menu, type ‘vpn’, then select ‘Add a VPN connection’.
From here, use the Windows (built-in) VPN provider, use the server name as above in the Network setup, and the User/Password you set.
Once done, connect to the VPN, and you may use standard Windows network diagnostics to check.
